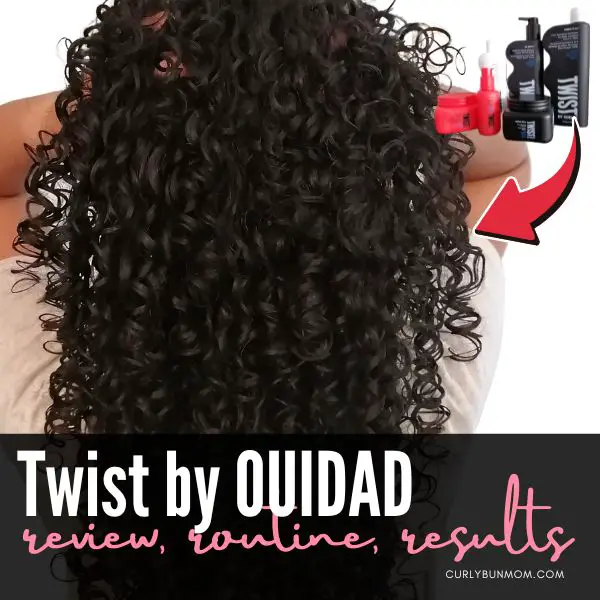
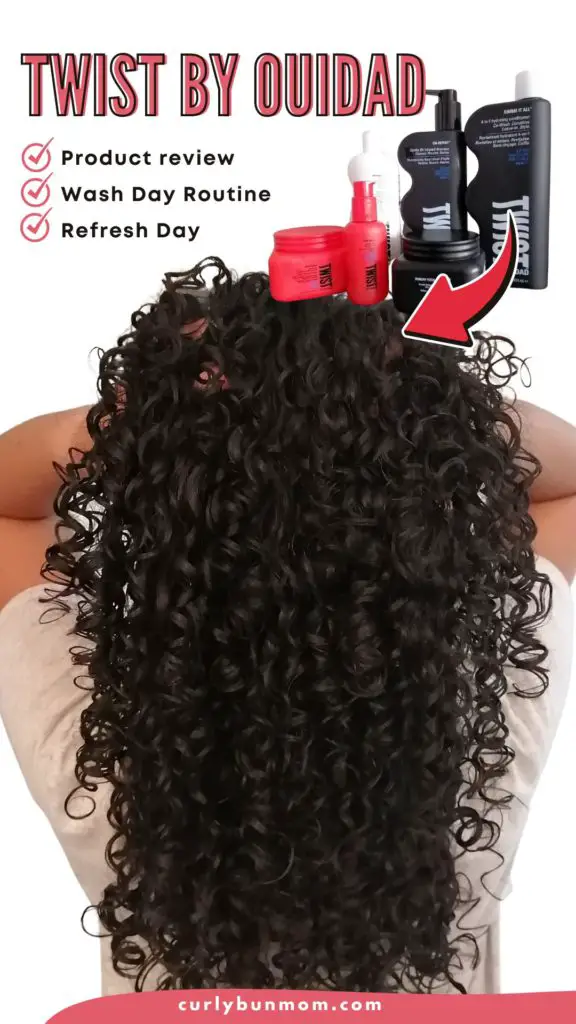
Twist by Ouidad is a curly hair product line that puts moisture first and might be exactly what your curls have been waiting for.
Their products are designed with moisturizing, reducing frizz, and curl definition in mind.
Twist Hair offers many different product lines so that you can choose the product that’s right for your curly hair needs.
You can even take a fun hair quiz to help find the best products for you. I’m sometimes skeptical about these types of quizzes, but it was pretty spot on with recommending what my curly hair needed.
In this post, I’ll be sharing my review of the recommended Twist Hair products and why I loved each one.
Affiliate Disclosure: “This post contains affiliate links, which means I receive a small commission, at no extra cost to you, if you make a purchase using this link.”
Next, I’ll review the products I’ve used from the Twist by Ouidad product lines.
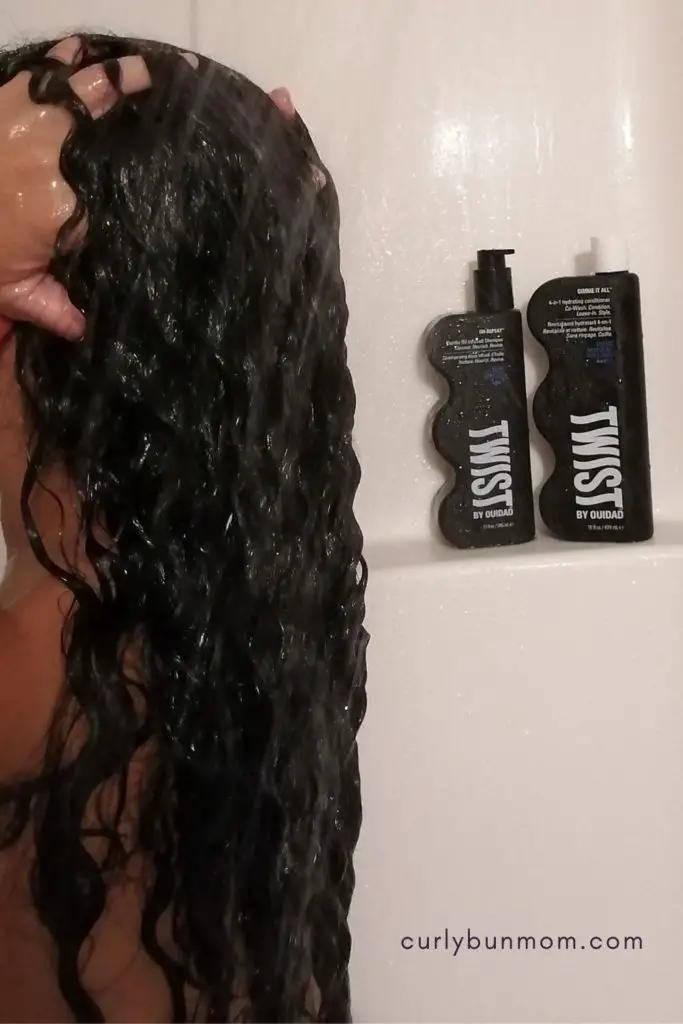
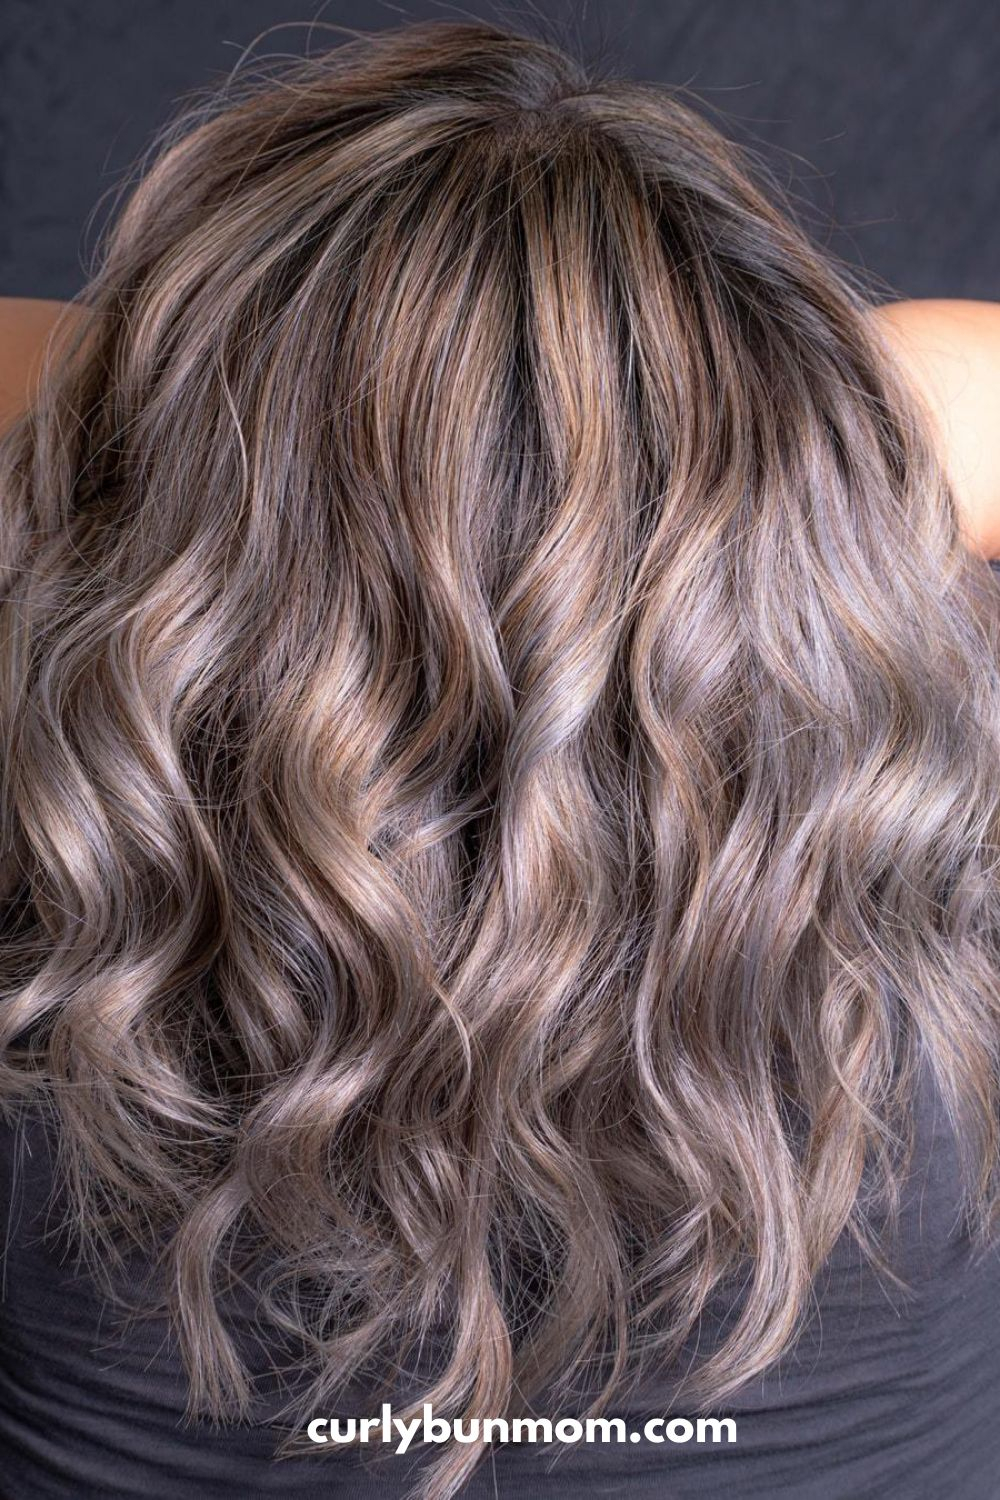
The Hit Reset Light Clarifying Shampoo is gentle, lathers well and doesn’t leave my hair looking or feeling dry.
According to their website, this clarifying shampoo contains aloe vera which helps to soothe the scalp as you gently cleanse. This amazing shampoo also contains rice protein and panthenol to protect your hair’s trexture and encourage volume and lift.
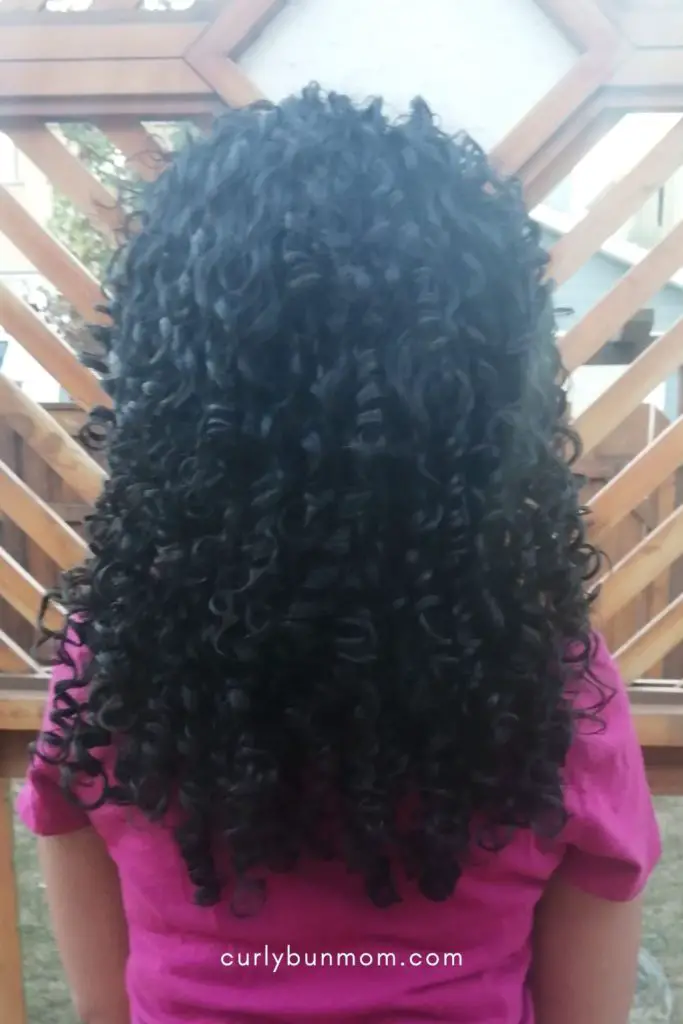
My 3a 3b curls really love it!
After one wash, my curls no longer felt weighed down with product and oil build up and didn’t feel stripped or dry either – a true instant reset!
After rinsing the shampoo, my scalp and hair felt clean and my hair felt very soft and hydrated. I really love this feeling after I’ve cleansed my hair.
I highly recommend this light clarifying shampoo for your weekend wash days.
This shampoo does it’s job well of gently cleansing and restoring moisture to my dry curls.
After washing, my scalp and hair felt clean but this shampoo didn’t leave my hair feeling stripped, which made detangling with the conditioner so easy.
It’s gentle enough to use more often than once a week and it’s perfect for a weekly wash once you don’t have too much build up.
Twist By Ouidad Gimme It All 4-in-1 Hydrating Conditioner
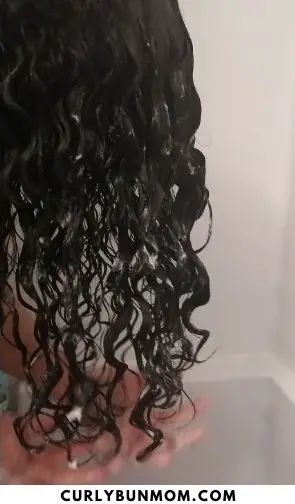
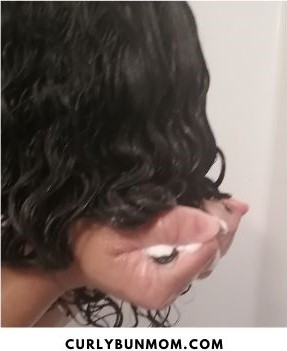
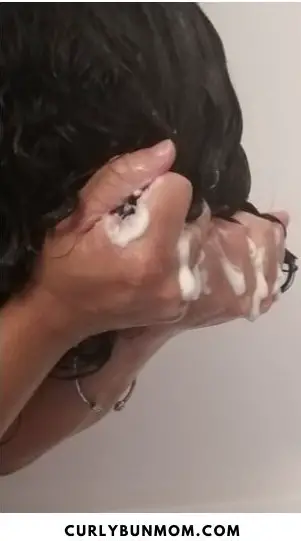
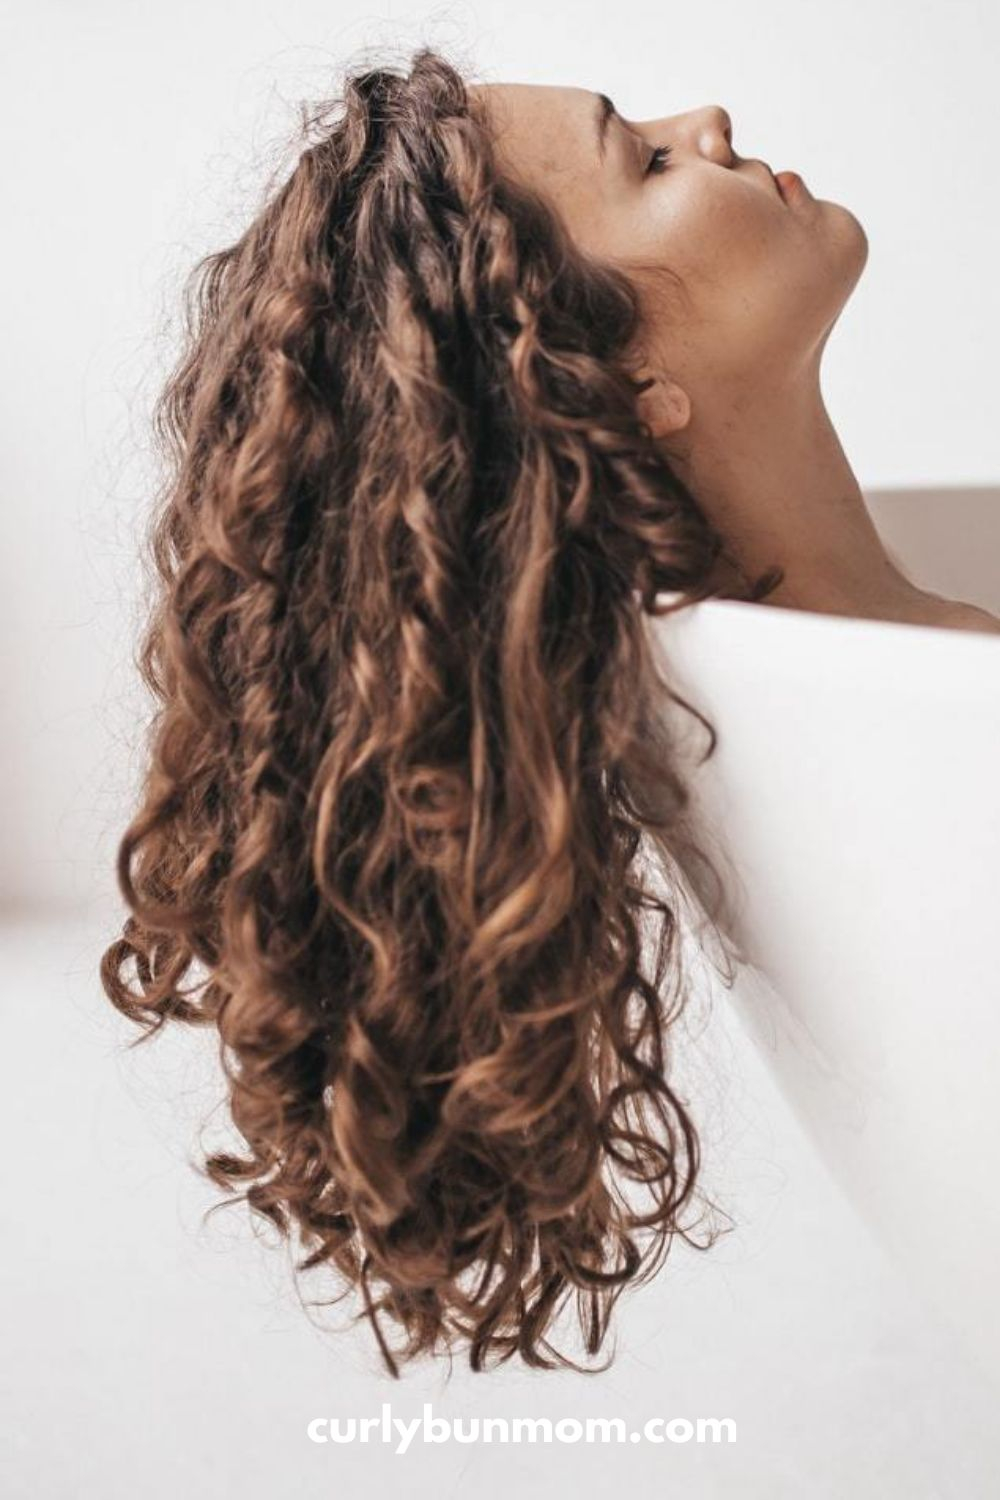
Twist by Ouidad’s Hydrating hair mask is impressive!
After just one use, for just 5 minutes, this mask made my curls so hydrated and defined.
The slip is incredible and makes the hair mask easy to apply. The recommended length of time to leave this mask on is 3-5 minutes or overnight if you’re looking for a deeper treatment.
After using this mask, my hair is a lot easier to style and I’ve found that I don’t need to use as much styling product as I used to.
Twist Boss Bounce Light As Air Buildable Styling Cream
I’ve tried many curl creams over the years and I always go back to the Shea Moisture Hibiscus Curl Cream, simply because it works the best for my curly hair.
I was very excited to try Twist’s styling cream as I loved the results from just cleansing and conditioning my curls. I’m happy that I was not disappointed at all.
The one thing I didn’t love about this product was the smell but thankfully, it doesn’t leave my hair smelling like the product.
The moisture and definition I get from styling with this product is truly remarkable. The ingredients work really well to moisturize, define and minimize frizz.
This is my absolute favorite styling product from Twist by Ouidad.
This weightess curly defining gel is perfect for humid weather. It reduces frizz and enhances curl definition to leave you with bouncy defined curls.
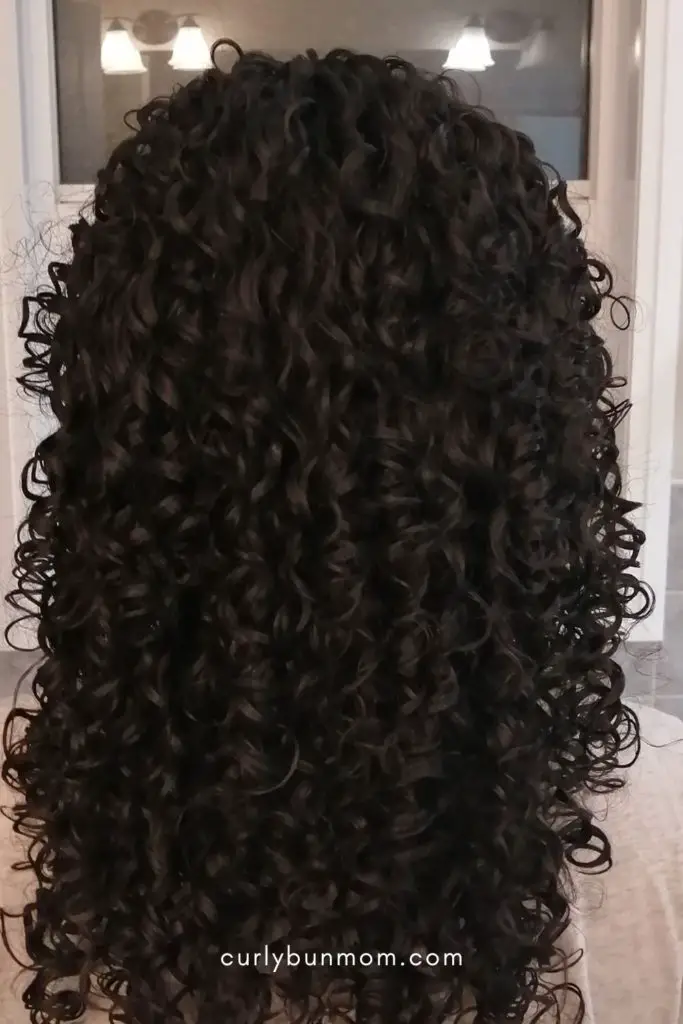
This gel is incredibly moisturizing, defines my curls and minimizes frizz – leaving me with a pretty awesome wash day result.
If you have dry curly hair – this gel is a definite MUST HAVE for your curly hair routine.
Twist By Ouidad Wash Day Routine
This is my very simple curly girl routine using the Twist by Ouidad Products reviewed in this post:
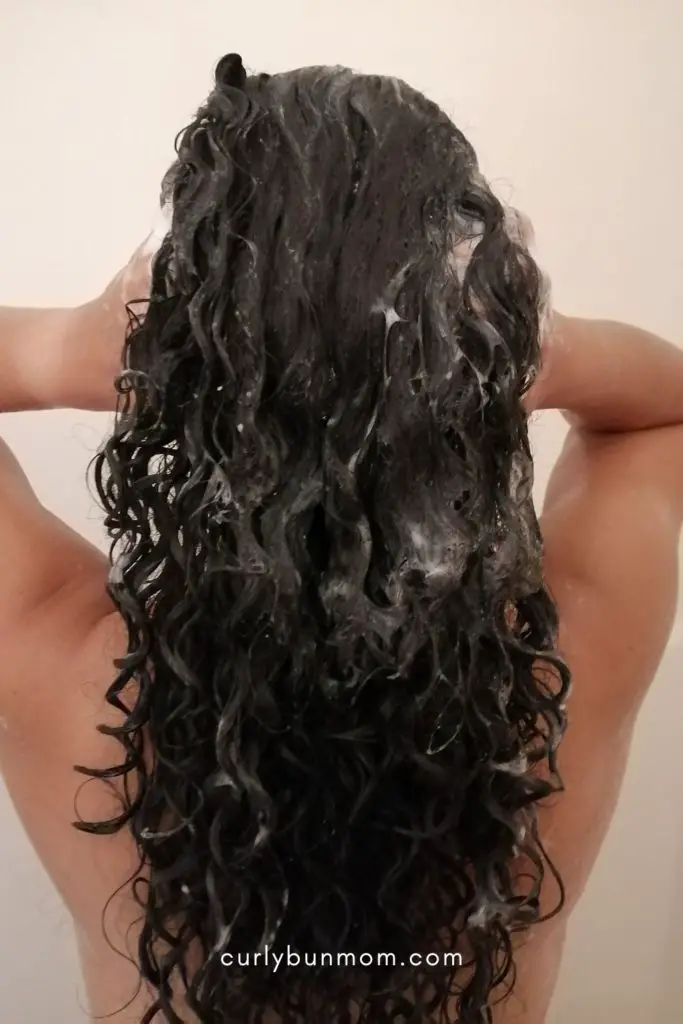
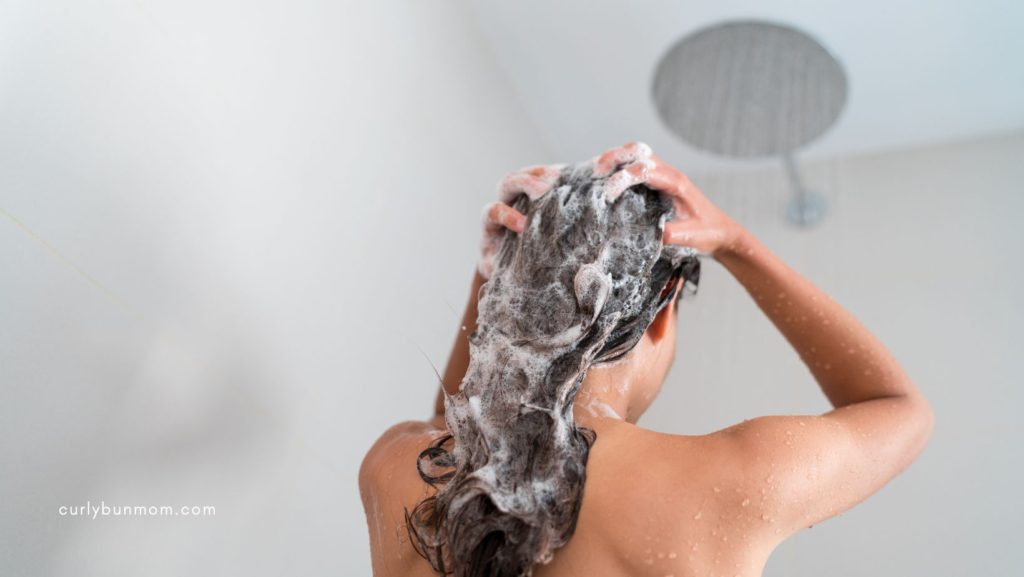
Step 1: Cleanse & Condition
Cleanse with the Hit Reset Light Clarifying Shampoo
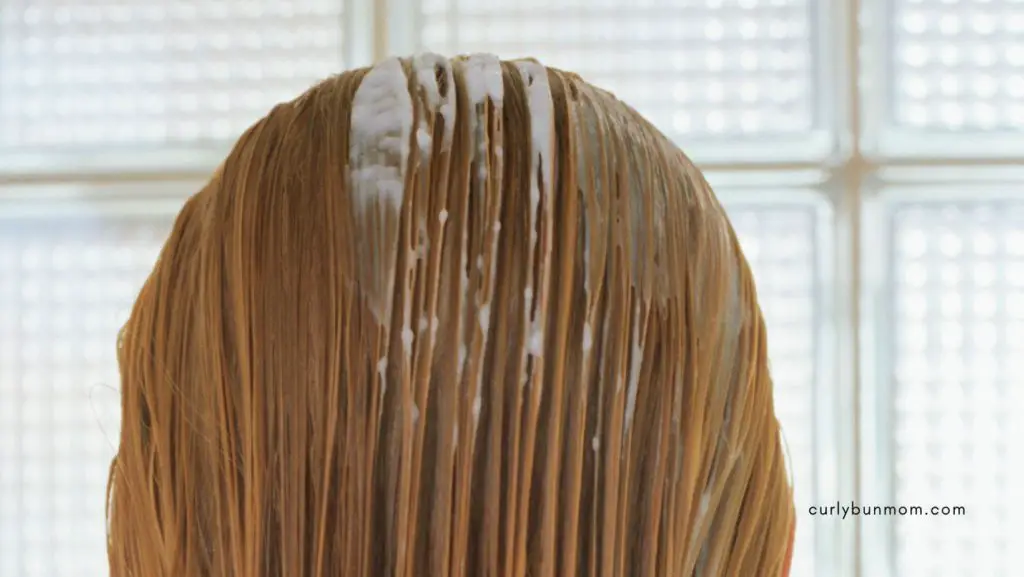
Detangle & Condition using Gimme It All Conditioner
Deep Condition with Sunday Feels Hydrating Hair Mask
Step 2: Style
In sections, rake a small amount of Boss Up Bounce Styling Cream to each section. The number of sections you decide on will depend on your hair’s texture and thickness.
I style my hair in three sections, because the middle of my hair needs a lot of extra TLC.
For super quick styling, I can get away with just 2 sections but refresh days take a little longer.
So, I style each section in this way:
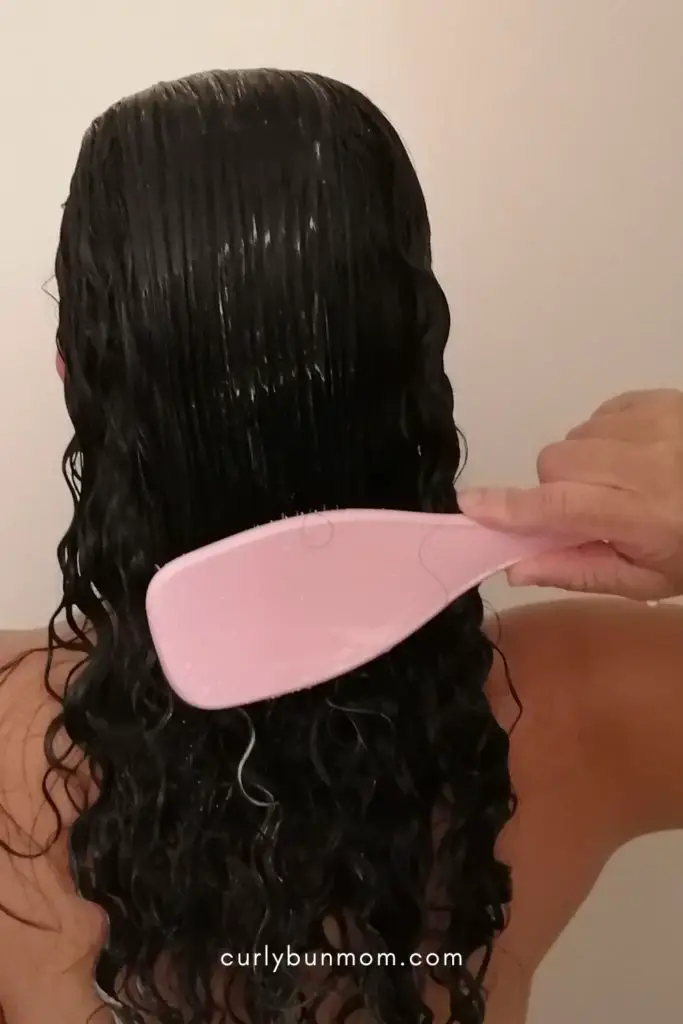
Apply your styling cream to the section and brush using Tangle Teezer to ensure the product is distributed evenly.
Next, smooth weightless gel over the section.
Lastly, define curls using a Denman Brush or your preferred styling brush. You can also choose to simply scrunch in the gel.
Once all of the sections are styled, plop your hair to encourage root definition and for the curls to “set”.The length of time you plop for is ultimately a personal preference, so experiement and see what works best for you.
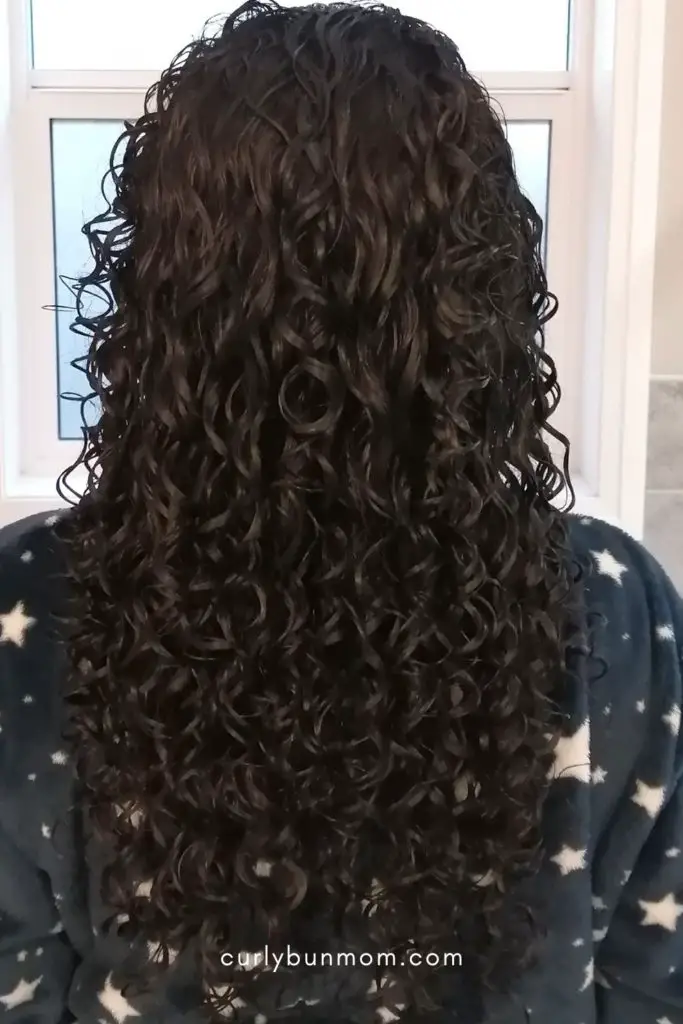
Step 3: Diffuse & Scrunch Out The Crunch
After plopping, it’s time to diffuse and scrunch out the crunch once your curls are dry.
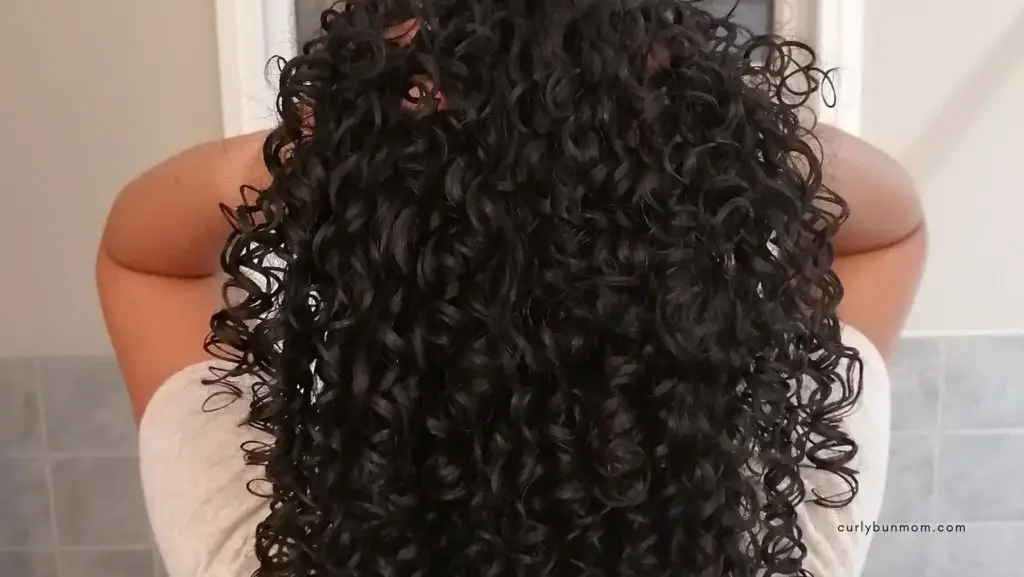
After sleeping with my hair in a loose pineapple, these are my results. I didn’t add any more product, I simply took out my satin scrunchie and gently shook out my curls.
Is Twist By Ouidad Curly Girl Approved?
Are Twist Products curly girl Method approved?
Not all Twist Hair Products are curly girl approved but many of them are safe to use for the curly girl method.
Even though some Twist products are not curly girl method approved, all of their products are safe from:
D4, D5 and D6 silicones
Harsh sulfates
Mieral Oil
Parabens
Petrolatum
Phthalates
List of curly girl approved products from Twist by Ouidad:
Please remember that brands can change their formulas at any time so if you are following the curly girl method, it’s a good idea to check the site for the ingredients and enter them into a site like isitcg.com to see if it’s curly girl approved.
Final Thoughts On Twist By Ouidad Curly Girl Products
Twist by Ouidad products have certainly proved that it deserves a spot in my curly routine. The price point of the products and the results I get from these curly girl products are really hard to ignore.
All of the products feels great, smell great and make my curls look great.
Most importantly, Twist by Ouidad has improved the health of my curls in a very short space of time without breaking the bank!
What about you? Have you’ve already tried any products from this brand? If so, let me know what you think of these products in the comments below.
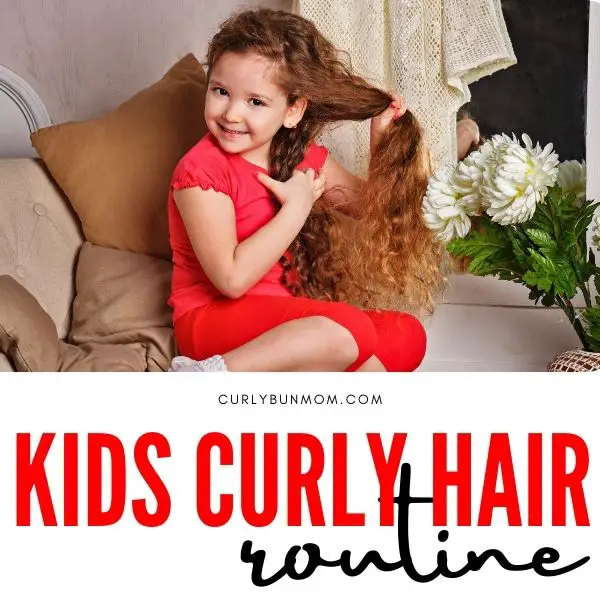
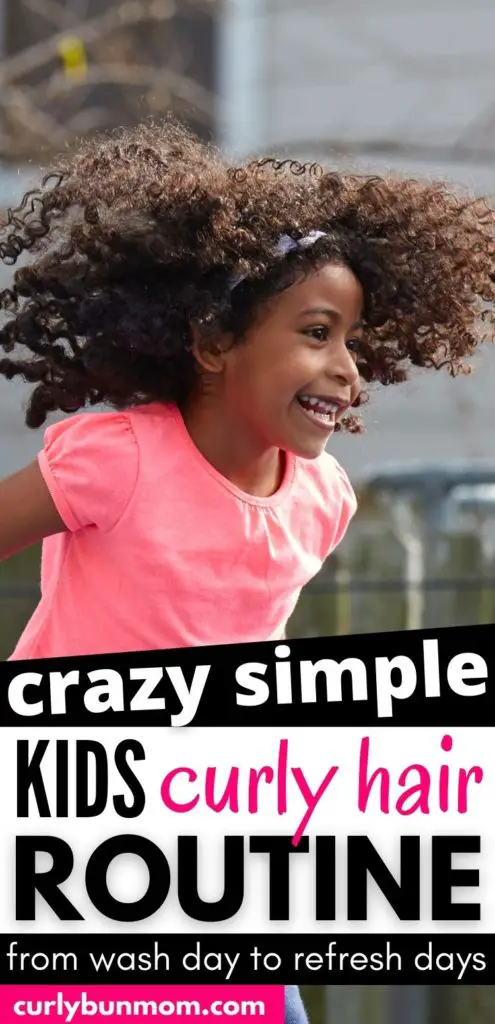
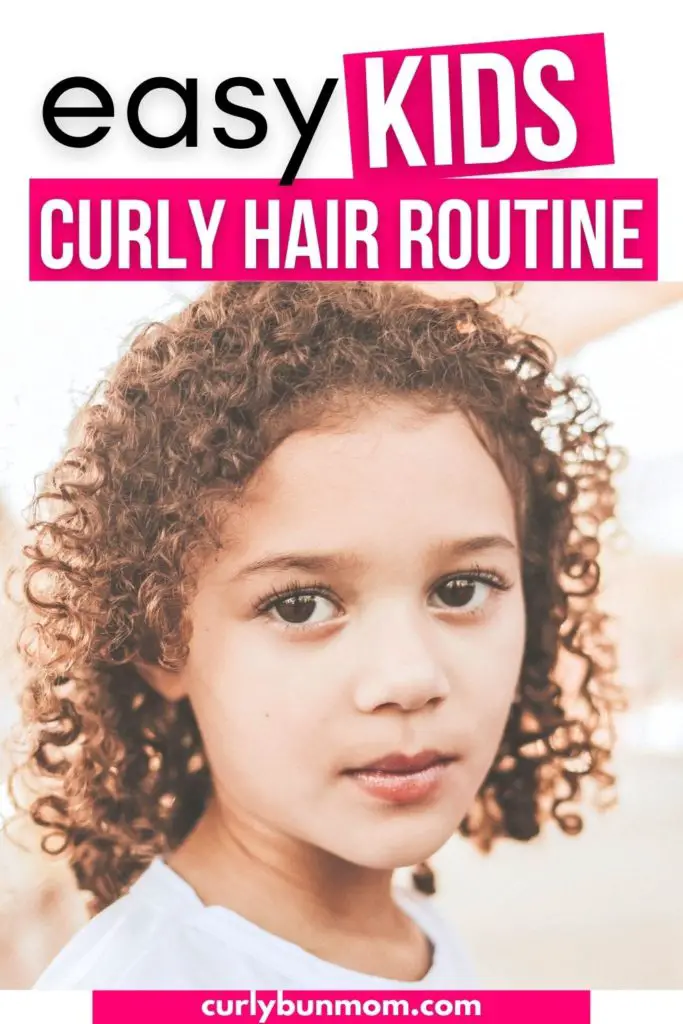
Easy Curly Hair Routine For Toddlers & Kids With Curly Hair
Are you wondering “how do I take care of kids or toddler curly hair?” If you have a toddler or kid with curly hair, then you know that taking care of their hair can be a challenge.
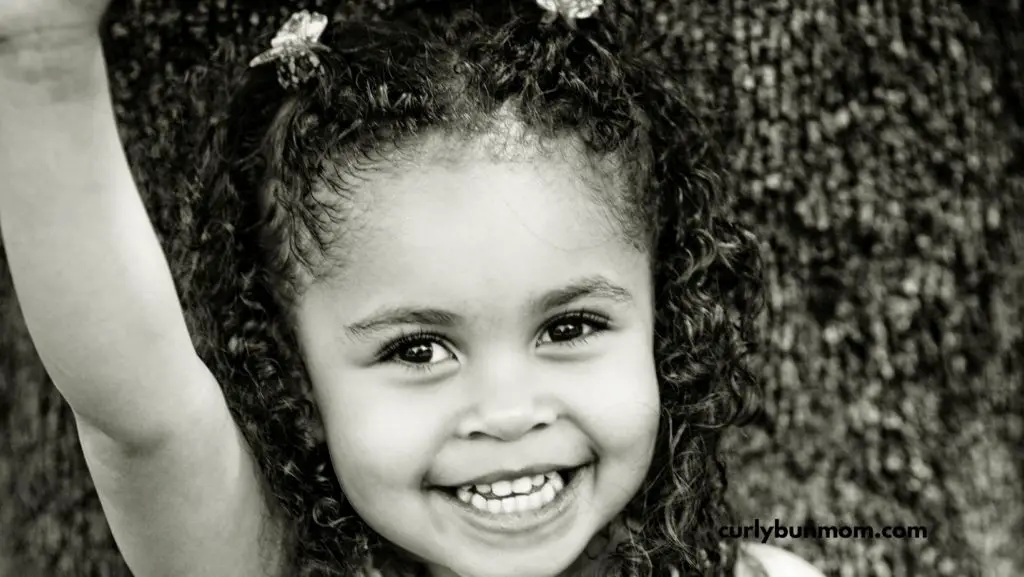
Curly hair is often dry and prone to tangles, including little girl curls. So it’s important to use curly girl approved products and methods to keep it healthy. The Curly Girl Method for kids is a great way to take care of curly hair without using harsh chemicals or products.
In this post, we will discuss tips on how to take care of toddler or kids’ curly hair, how to use the Curly Girl Method for kids and provide an easy curly hair routine that you can follow at home!
How Do I Take Care Of My Kids Curly Hair
I get asked this question often from new moms and dads of kids with curly hair. The short answer is: simplicity is key!
Keeping the process of taking care of your kids curly hair simple, will make it easier for both of you to keep up with it. Get your toddler or kid involved and make it a special fun time for you guys.
When your child sees you enjoying it, they will be more likely to enjoy it and even want to learn. Over time, they will pick up on the healthy hair care habits you’re forming and will be able to continue it on their own as they grow.
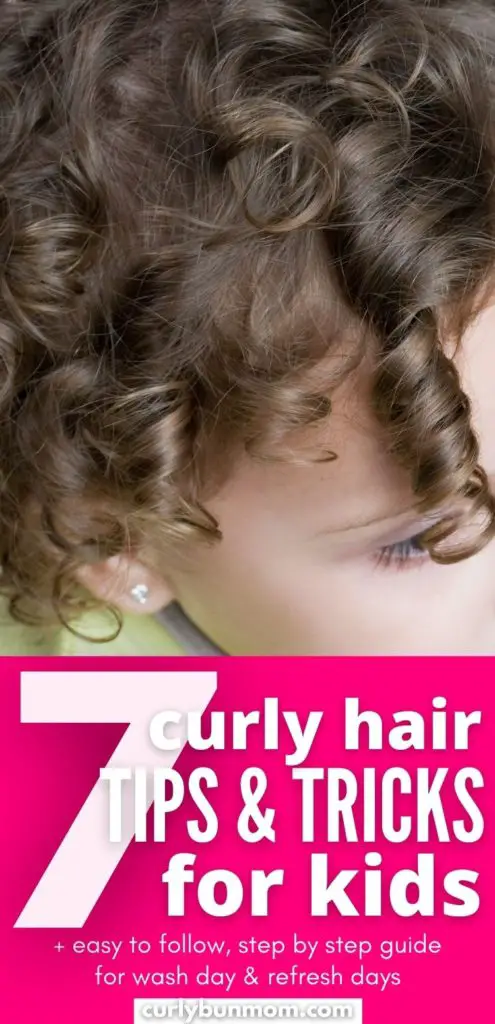
Here 7 main guidelines to take care of kids curly hair:
Do not brush dry curly hair
Only use microfiber towels to dry hair
Use curly girl method approved products
Keep curls moisturized
Protective hairstyles
Use Satin pillowcase & hair tie
Cleanse & Condition weekly
Do Not Brush Dry curly Hair
Brushing dry curly hair will cause breakage, split ends, and frizz. Always dampen or wet hair before using a curl girl brush or comb to detangle or style.
Use Microfiber towels
Microfiber towels are gentle enough to dry hair without pulling and causing damage.
Towels made from other fabrics will cause hair to get caught in the fibers and friction will result in damaged, frizzy curls.
What Is The Curly Girl Method & Approved products?
The Curly Girl Method is a simple way of taking care of curly hair that doesn’t use harsh chemicals or products. It’s based on the idea that curly hair needs moisture to look its best.
The Curly Girl Method is a hair care system developed by Lorraine Massey. It’s based on the idea that curly hair needs moisture to look its best, and that harsh chemicals and products can damage curly hair.
You don’t have to follow every rule of the curly girl method precisely but it’s a good guideline to develop healthy habits on how to take care of your kids or toddler curly hair.
The basic idea is to use gentle, moisturizing products and avoid harsh chemicals. You can read more about the curly girl method here.
Keep Kids & Toddler Curly Hair Moisturized
As you know curly hair is prone to being dry. Therefore, you always want to ensure that your toddler or kid’s hair is well moisturized to prevent frizz and breakage.
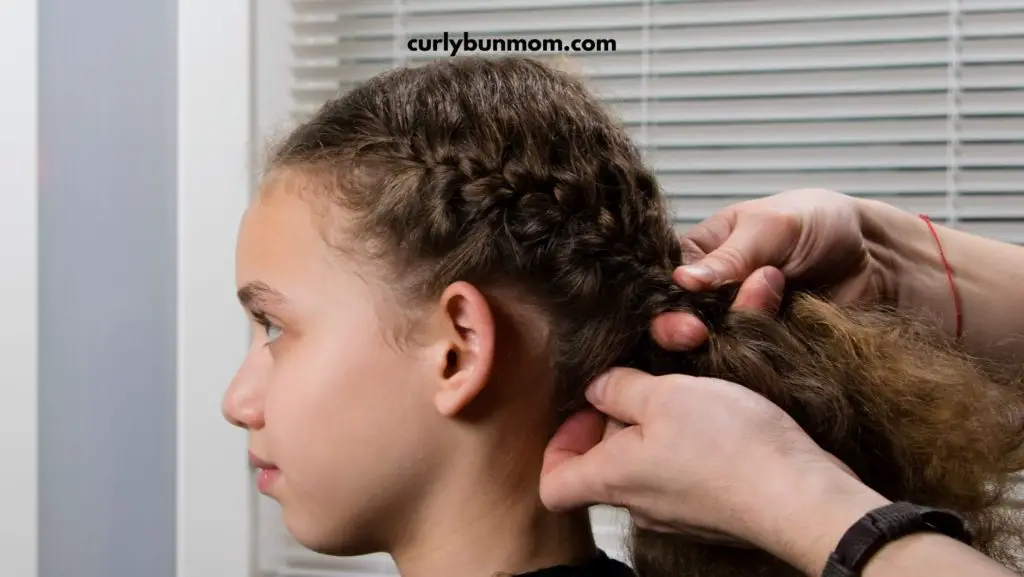
Use protective Hairstyles
Your toddler or kid is almost always on the move so the best hairstyles for them would be protective.
Think big goldilocks curls, twists, plaits, braids, and buns.
These hairstyles will help to keep curly hair moisturized and less frizzy while they’re busy being kids.
Satin Pillowcase & Scrunchie
Letting your kid and toddler sleep on a satin pillowcase will prevent frizz and damage by reducing friction while your child sleeps. Once you do this, refreshing their curls and waves when they wake up would be much easier.
Similarly, using satin or silk hair scrunchies will secure their ponytails and hairstyles without damaging their hair.
Cleanse & Condition Weekly
Cleansing and conditioning your kids or toddlers curly hair is critical. Build up from hair products and dirt will weigh down their hair and can clog hair follicles causing an itchy scalp.
Cleansing will gently remove dirt and conditioning will, of course, work to replace moisture.
How To Use The Curly Girl Method For Kids
The Curly Girl Method for kids is not different than the adult version. It’s simple and focuses on using gentle, moisturizing products.
The main difference is that you will need to use products that are specifically designed for kids curly hair.
Here are some tips on how to use the curly girl method for kids:
Use gentle, sulfate-free shampoos and conditioners.
Avoid using products that contain harsh chemicals, like sulfates, silicones, and parabens.
Use products that are designed for curly hair, like shampoos, conditioners, and styling products.
Use a moisturizing gel or cream to style curly hair.
Avoid using heavy oils or butters, which can weigh down curly hair.
Easy Curly Hair Routine For Kids
Now that you know how to use the curly girl method for kids, let’s discuss an easy hair routine for your kids and toddlers curly hair, that you can follow at home.
If your toddler was like mine, she may not love wash day. I tried many different ways and routines to keep it short and make it fun and eventually this is what works for us.
This wash day routine is simple and only requires a few products:
Pre poo & detangle: Before shampooing, use a pre-poo to gently detangle curly hair.
Shampoo: Use a gentle, sulfate-free shampoo to cleanse your child’s hair.
Condition: Use a conditioner that is designed for curly hair. Leave the conditioner in your child’s hair for a few minutes to help detangle and soften the hair.
Styling Products: Use a moisturizing gel or cream to style curly hair.
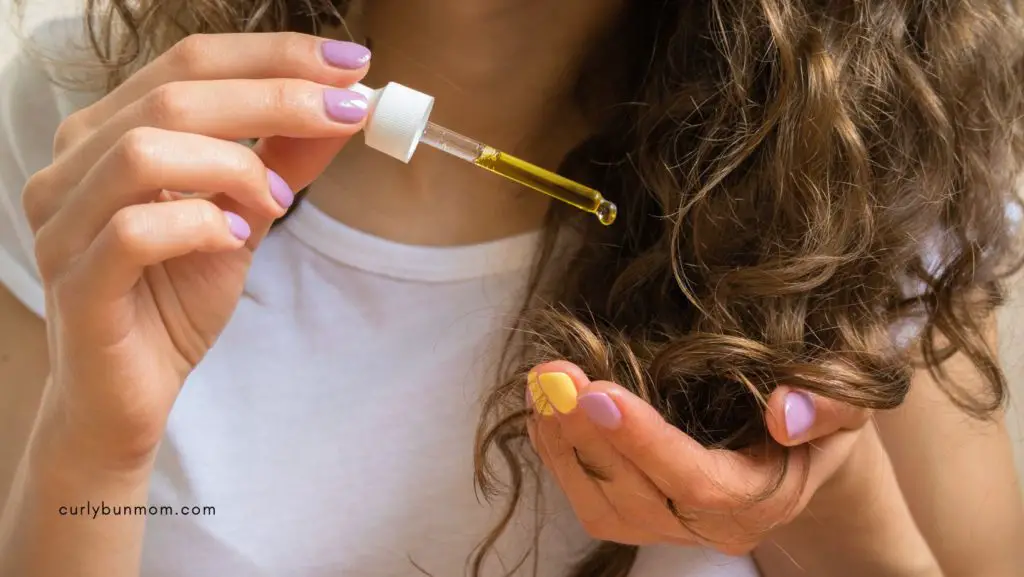
Oil: Apply a light oil like argan oil or jojoba oil to the ends of your child’s hair to seal in moisture.
Pre poo & detangle
Before you shampoo your child’s hair, use a pre-poo or conditioner to help detangle and soften the hair.
Pre poo is when you apply a conditioner or oil to your hair before you shampoo. This helps to detangle the hair and soften it so that the shampoo can cleanse it better.
You can also use a detangler spray or conditioner to help detangle your child’s hair before you shampoo it.
Start by parting your child’s hair into small sections. Apply an oil like coconut oil or a leave in conditioner to each section and use your fingers, a comb or brush to gently detangle the hair working from the bottom up.
Be careful not to tug on the hair or pull it out, as this can cause damage and breakage.
After detangling you can leave the oil or conditioner in your child’s hair for 30 mins to overnight before cleansing.
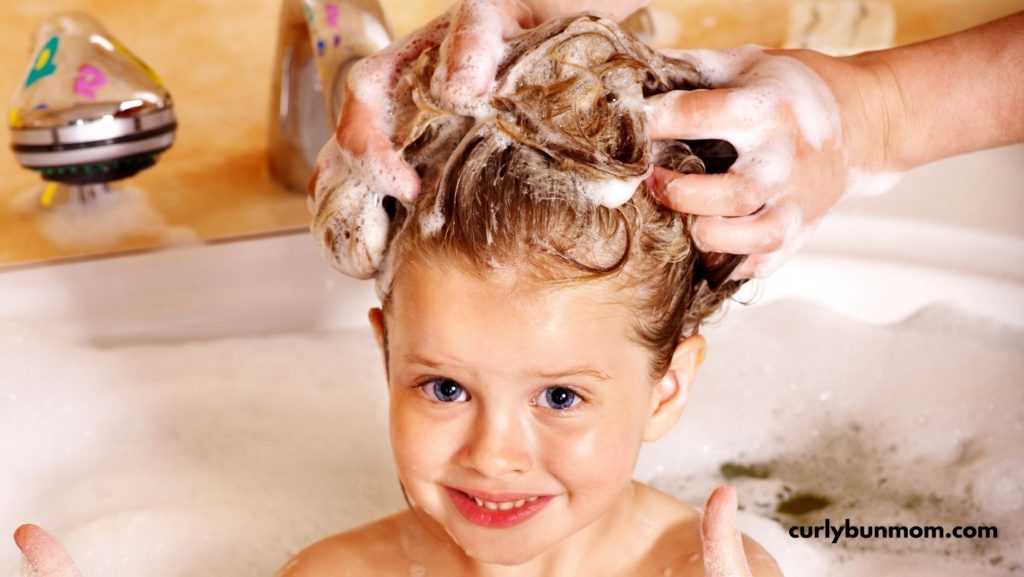
Shampoo
Now that the hair is prepped and detangled, you can shampoo it to cleanse it.
My daughter doesn’t like to wash her hair in the tub and so we wash and condition it at the kitchen sink. I simply lay a towel on the counter and roll it at the edge of the sink to provide a cushion for her neck.
She really doesn’t fuss about it but if your child doesn’t like this option, you can purchase one of these to help with wash day.
To cleanse, use a gentle, sulfate-free shampoo to cleanse your child’s hair. Sulfates are harsh chemicals that can damage curly hair.
Start by wetting your kids curly hair and applying a gentle, sulfate-free shampoo to the scalp. Massage the shampoo into the scalp and work it down to the ends of the hair.
Be sure to rinse the shampoo fully, as leaving any residue can be drying and damaging to curly hair.
Condition
After shampooing, apply a curly girl approved silicone free conditioner.
Leave the conditioner in your child’s hair for a few minutes to help further detangle and soften the hair.
Follow the product’s recommended time to leave the conditioner in and then thoroughly rinse out all of the product.
Deep condition
If your child’s hair feels dry or brittle, you can use a curly girl deep conditioner to help hydrate and soften it.
Deep conditioning is when you apply a conditioner or mask to your hair and leave it in for a period of time, usually 30 minutes.
The deep conditioner will help to moisturize and soften the hair, and will help to reduce frizz.
Styling
Now that the hair is clean, conditioned, and detangled, you can style it using a moisturizing leave-in conditioner and curl cream.
Start by apply the styling product to wet or damp hair, and distribute it evenly throughout the hair using a curly girl brush like this detangler or this Denman brush.
You can then finger coil or twist the hair to encourage curl definition and to keep your kids’ curly hair frizz free.
Oil
Once you’ve completed your hairstyle, use oil to seal in the moisture.
Oil will keep your child’s curly hair as tangle & frizz free as possible. Apply a light oil like argan oil or jojoba oil to the ends of the hair to seal in moisture.
Argan oil is a light, non-greasy oil that helps to nourish and protect the hair. It is also high in antioxidants, which help to fight free radicals and protect the hair from damage.
Jojoba oil is another light, non-greasy oil that helps to moisturize and condition the hair. It is also rich in vitamins and minerals that help to nourish and strengthen the hair.
Drying Your Kids’ Curly Hair
You can leave your kids or toddlers hair to air dry or you can diffuse if they would allow you. If you live in a hot climate, this may be ok to do.
However, in colder climates, some kids don’t like to feel their hair wet especially if it’s long. In this case, let your child’s hair air dry for about 10 mins after styling and then diffuse as much as you can on the cool setting.
refresh Day Routine For Kids Curly Hair
I refresh my daughter’s hair while she’s reading her favorite book or playing with a toy.
Using the right products on wash day will set you up for the week and will make refreshing after wash day so easy!
On the days following wash day, here are 2 easy way to refresh your kids curly hair.
Refresh Day Routine For Kids Curly Hair: Dry Refresh
Take down hair from the pineapple
Shake out hair gently
Smooth a serum to beat any frizz
Scrunch or finger coil
And that’s it! This refresh method works the best for 2a 2b 2c curls. So easy and super simple.
Refresh Day Routine Kids & Toddler Curly Hair: Damp Refresh
Take down hair from the pineapple
Shake out your waves gently
Spritz water or leave in over your hair
Finger coil any pieces that need attention
Air dry or Diffuse
Final thoughts On This Easy Curly Hair Routine For Kids and Toddlers
Curly hair routine for kids can seem daunting, but with a little bit of patience and these simple tips, you can help keep your child’s curly hair healthy and frizz free!
Follow the tips and use the products recommended in this post, and you can help keep your child’s curly hair looking its best! Remember that every head of curly hair is different and what works on one may not work on another. So, always experiment and do what works best for you and your kids.
If you have any tips that help you with caring for kids curly hair, please leave a comment below so that we can help others.
Before You Go, You Will Love These Other Posts For Curly Hair:
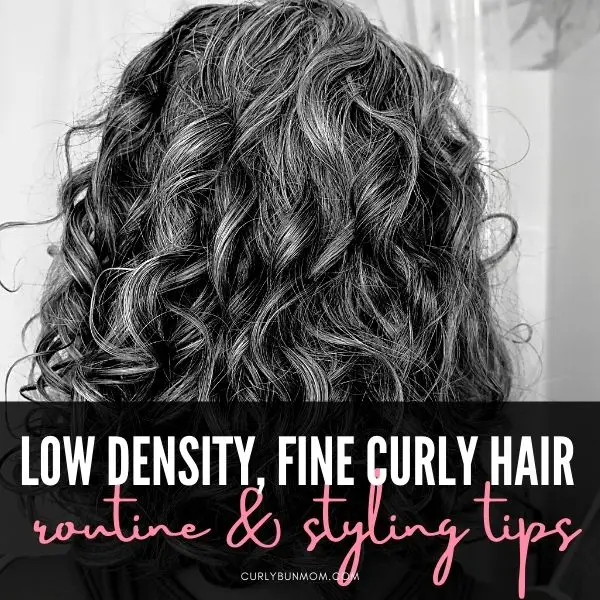
Do you have low density, fine curly hair and you’re struggling to style it? Then, this post is for you.
Below, I have a thin or low density, fine curly hair routine for you and some pretty cool tips and tricks to get a fuller, voluminous look when you style.
Affiliate Disclosure: “This post contains affiliate links, which means I receive a small commission, at no extra cost to you, if you make a purchase using this link.”
Fine curly hair looks and feels thin in comparison to thicker hair. Fine curly strands can also be more fragile and may break more easily.
Density, on the other hand, refers to how much hair you have. With low-density hair, you can typically see your scalp more easily.
Both can cause styling to be a little more difficult as they can both look weighed down and lymph quite easily.
Even though styling may be a little more challenging, there are tips that you can follow for your curls to be healthy and look their best.
Low Density, Fine Curly Hair Tips
Clarify at least once a month
Use sulfate free shampoos
Style hair when it’s damp
Use light weight styling products
Don’t layer styling products – use One product styling routine
Do not apply curly girl products to your roots
Don’t scrunch your gel to close to the scalp
After drying, separate curl clumps
Fluff roots with fingers or pick
Clarify at least once a month
Low density, thin curly hair should be clarified at least once a month, maybe even twice a month.
Fine curly hair tends to be more susceptible to sweat, oils and product build up on your scalp and hair. When this happens, your curls will be weighed down and look lymph and dull.
Clarifying more often will remove dirt and product build up to keep your curls healthy and reveal well-defined curls.
Use sulfate free shampoos
Sulfate free shampoos are excellent for low density, fine curly hair. They gently cleanse your scalp and hair without stripping your curls.
They remove product build up well and will help with curl definition and shine.
This tip for your thin or fine curly hair takes a little experiementing on your part. Some curly girls with low density, thin curls get good results when they style on soaking wet hair and other swear by styling on damp hair. So, try out both techniques and she what works best for you.
Use light weight styling products
For low density, fine curly hair, lightweight products are better than heavy curl creams or butters.
Heavier curly hair products will weigh down your curls and leave you with flat, dull curls.
Light weight products won’t weigh down your fine curly hair and will help to make it look voluminous.
So, if you have low density or fine curly hair, avoid curly hair products with butters like shea or coco butter and instead try products that are liquid like milks or mousse or thin gels.
If you still want to use curl creams or butters, you can dilute it with some water in the palm of your hands before applying it to your hair. This will also make the application easier.
Don’t layer styling products – use One product styling routine
Using only one product for your low density, fine curly hair styling routine is sufficient for great results.
Layering products when you have low density, fine curls will weigh it down and create too much product build up.
Do not apply curly girl products to your roots
Applying products to the roots of your hair will weigh it down and prevent you from getting root volume.
Instead, apply your hair to the lower half of your hair strands.
Don’t scrunch your gel to close to the scalp
When scrunching in gel, be careful not to scrunch all the way up to your scalp as this will prevent root volume.
You may even prefer to style with your head upside down.
After drying, separate curl clumps
If you have large curl clumps, gently separate them at this point. Creating lots of smaller curl clumps will add volume for thin, fine curly hair.
Fluff roots with fingers or pick
Shaking or fluffing your roots will help lift the hair at the roots and give you root volume.
Low Density, Fine Curly Hair Routine
This is a great curly hair routine from wash day to styling for your low density, fine curly hair.
Wash with sulfate free shampoo
Condition or Deep Condition
Apply Leave In conditioner or curl cream
Scrunch in gel or mousse
Diffuse
Scrunch Out The Crunch
Fluff and pick roots
Wash with sulfate free shampoo
Wash your scalp and hair with a sulfate free shampoo to remove dirt and product build up. Use a scalp brush to massage and help cleanse your head.
Rise the shampoo thoroughly before moving on to conditioning your hair.
Condition Or Deep Condition
Apply a generous amount of conditioner to the length of your hair. Try not to get too much conditioner on your scalp.
Once you’ve applied your conditioner, you can use a detangling brush to evenly distribute the conditioner and detangle.
After using a microfiber towel or cotton t shirt to dry your hair a bit, apply a light leave in conditioner or curl cream to your hair.
You can start from the ends and work your way up but be careful not to apply to your root.
You can use your favorite curly girl brush, like a denman brush or behairful brush to distribute the product evenly. Brushing also helps to reduce frizz.
Next, define your curls in sections. Use your brush in small sections of your hair to avoid large curl clumps.
Hold your brush vertically against your scalp and brush each section away from your scalp (don’t brush down) to encourage lifting.
For the top of your head, brush up and let your curl clumps fall back.This also helps sto create volume at the roots.
Creating smaller curl clumps and ringlets will give your a more voluminous look.
Scrunch in gel or mousse
Once you’ve styled your curls, gently glaze and scrunch in a small amount of your preferred curly girl gel or mousse.
Don’t use too much product, because even though it’s lightweight, if you’re heavy with the gel, it can still weigh down your curls too much.
A light weight gel or mousse that will create a gel cast will help to hold your curls for longer lasting results.
Once, you’ve finished scrunching in your gel, don’t touch your hair anymore and air dry your hair until a gel cast forms.
Diffuse
Once your gel cast has formed, diffuse your hair until it’s completely dry.
Diffusing will help with volume.
If you’re afraid of using heat, you can diffuse on the cool setting.
Scrunch Out The Crunch
After diffusing, use a small amount of oil to scrunch out the crunch. The oil is mainly to prevent frizz but you can skip it and just scrunch.
Be sure to also gently break up any large curl clumps to add volume.
Fluff and pick roots
This is one of the most important steps when you’re styling your low density, fine curly hair. Gently shake the roots of your hair to encourage volume.
You can also use a pick to create extra volume.
Curly Girl Products For Low Density, Fine Curly Hair
If you would like to purchase any of the products below, just click on any of the links.
Shampoos
Curl Smith Wash & Scrub Detox Pro Biotic – Buy on Amazon | Target | Ulta
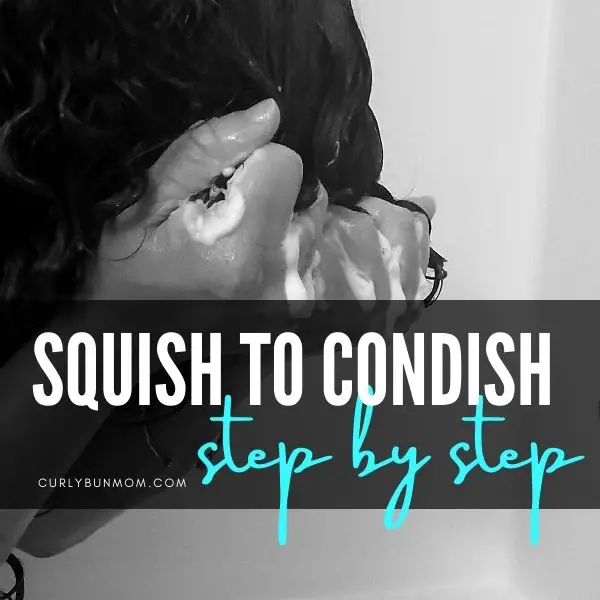
Step By Step – How To Squish To Condish Curly Hair
This step by step squish to condish curly hair guide will help you to improve the hydration and health of your hair. So, whether you have wavy hair (2a, 2b, 2c hair) or curly hair (3a, 3b, 3c hair) you can benefit from this super easy curly girl technique.
What Is The Squish To Condish Method
Squish to condish is a method of deeply moisturizing your curly or wavy hair while you’re conditioning it.
This is done by applying a generous amount of conditioner to dripping wet hair and then scrunching or squishing them into your curls to encourage deeper penetration of your preferred curly girl conditioner.
3 benefits of Squish To Condish
intensifies hydration in curls and waves
reduces frizz
encourages maximum curl definition
Step By Step Squish To Condish
Here’s how to squish to condish
Cleanse your hair with your preferred shampoo or co wash
Rinse shampoo thoroughly from hair
Apply conditioner generously to your dripping wet hair
Detangle your hair
Flip your head upside down
Gently scrunching your curls from root to scalp
Flip your head to the right side
Gently scrunching your curls from root to scalp
Flip your head to the left side
Gently scrunching your curls from root to scalp
Rinse throughly while gently scrunch your hair from root to scalp
Key tips for success
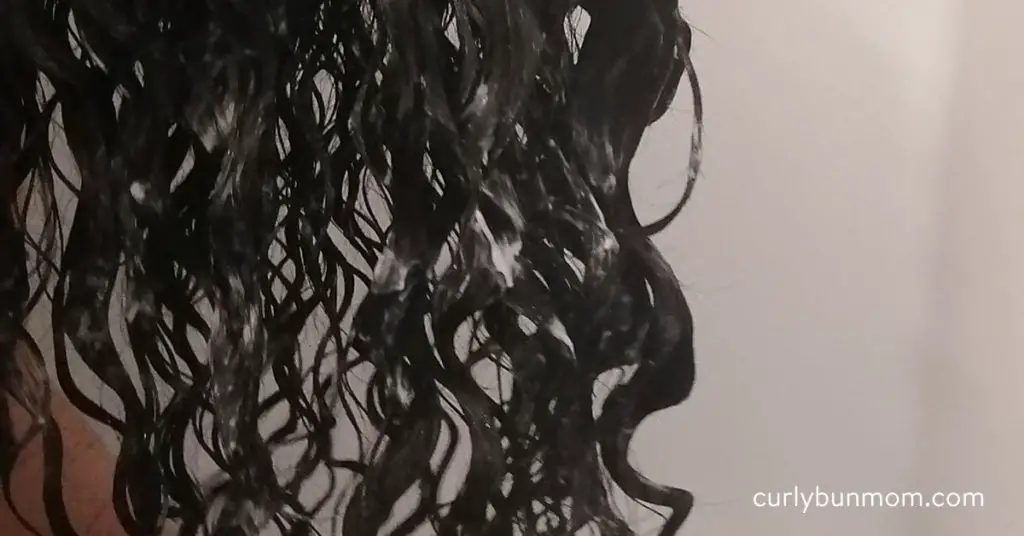
Ensure that your hair is dripping wet
Apply enough conditioner so that your hair is very slippery and feels like seaweed
When you scrunch with the water and conditioner in your hair, you want to hear a squishing sound
Big defined curl clumps should form
How Long Does It Take
The length of time you take to complete this method on wash day depends on the health of your hair and your personal preference.
It may also take a few tries to figure out what works best for your hair.
However, for starters, you can rinse when excess water is no longer dripping out when you scrunch your curls.
Do You Rinse Your Hair After Squish To Condish
Always follow the directions on your curly girl conditioner. All conditioners will recommend thoroughly rinsing the product out of your hair.
Rinsing conditioner from your curls or waves is extremely important. Leaving conditioner in your hair can lead to an imbalance of moisture vs protein in your hair and cause hygral fatigue.
Squish To Condish With Leave In Conditioner
Instead, when you’re styling your hair you can scrunch your preferred curly girl leave in conditioner into your hair – following the steps outlined above.
This will allow you to benefit from the squish to condish technique with a product that is designed to stay in your hair.
Continue with your styling routine as usual.
What Do You Do After Squish To Condish
After rinsing, style your hair as usual. Try these posts if you’re looking for a curly hair routine or wavy hair routine.
I hope this post helps you get the curls or waves that you’ve been after. Let me know how it works out for you in the comments below.
Before You Go, You Will Love These Other Posts For Curly Hair:
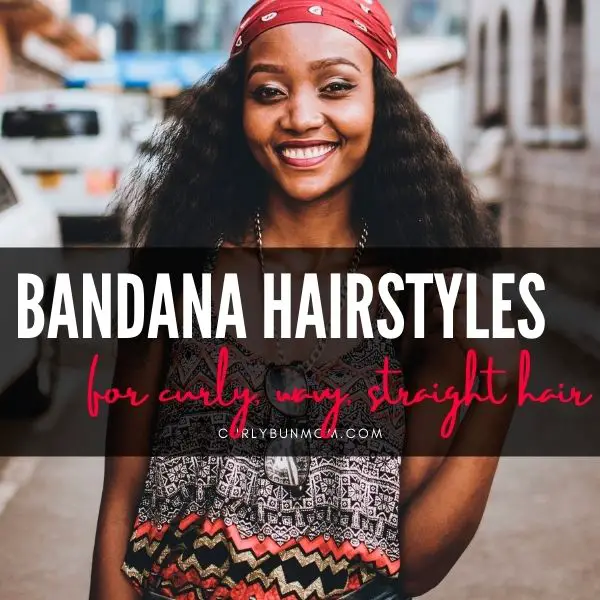
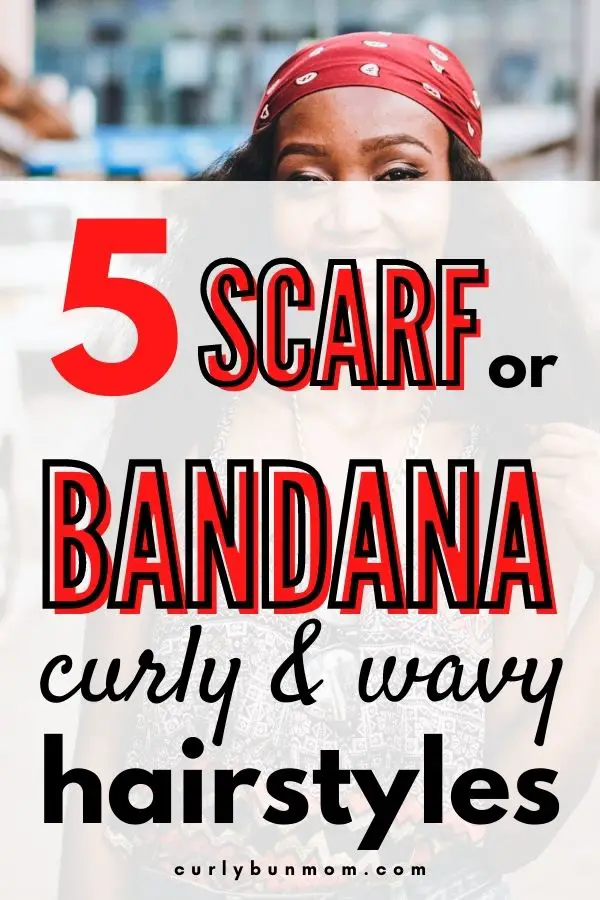
Bandana hairstyles or scarf hairstyles are perfect for curly and wavy hair to complete your chic, laidback look. Scarf or Bandana headbands and hairstyles are also the perfect addition to your hairstyle for spring and summer to add a fun pop of color and won’t damage your hair.
Are Bandanas & Scarfs Still In Style In 2021?
Before we jump into some super cute bandana hairstyles for your wavy, curly or straight hair, let’s answer an important question! Are bananas even still in style in 2021?
I’m very happy to report that bandanas are still very hot and trendy and this style isn’t going anywhere, anytime soon.
Ways to Style Your Hair With A Scarf Or Bandana
Bandana Headband
Braid
Ponytail
Bun
Pineapple
Bandana Headband Styles
Let’s start with a super easy bandana hairstyle – styling with it as a headband. So, how do you style a bandana headband on your wavy, curly or straight hair? To style:
Fold your bandana to form a triangle
then keep folding diagonally until you have a one inch (or wider) band.
Holding the ends of the bandana, place your bandana headband in a comfortale position at the top of your head.
Tie the ends of the bandana at the base of your head.
Finally, adjust any strands around the frame of your face to soften your look.
Bandana Headband Hairstyles are also perfect for short hair of any texture (straight, curly or wavy).
This bandana headband still is so easy and will keep your hair back so that you can show your gorgeous face. You’ll also add some fun color to your hairstyle.
Scarf Or Bandana Pony Tail Hairstyle
A high, middle, low, or half ponytail is an awesome bandana hairstyle for your straight, wavy, or curly hair. This bandana hairstyle works best with a smaller bandana so it doesn’t overpower your hairstyle. To style:
Secure your preferred pony tail with a hairtie
Fold the bandana in a triangle
Keep folding diagonally until you make a strip
Wrap the bandana around the pony tail and secure it with a hair pin
Bandana Or Scarf Plait Or Braid For Wavy, Curly Hair
A braided or plait hairstyle with a scarf or bandana will add color all through your plait or braid. To style:
Make a triangle with your scarf or bandana
Fold your bandana to your preferred width
Put your hair in a pony tail
Wrap the scarf around your pony tail
Create two equal sections for your braid
Start braiding your hair with the two sections and the scarf as the third section of your braid or plait
Braid as usual incorporating the scarf or banada with sections of your braid (one section will be without piece of the scarf or bandana)
Secure your braid with an elastic
Alternatively, in step 5, you can create three equal sections of your hair. Next, hold the middle of your scarf and place it on top of your ponytail and incorporate one half of the scarf with one section of your plait and the other with another section of your plait. Note that one section of your hair will not have part of the scarf. Plait or braid your hair as usual.
Scarf Or Bandana Bun Hairstyle
The super easy style is, of course, my favourite. I love putting my curly hair in a bun. Adding a scarf or bandana adds a pop of colour and makes my bun even cuter. The easiest way to do this style is to create a bun and simply wrap your scarf around your bun and secure the ends under or tie the bandana or scarf in a knot or bow to secure. And that’s literally it!
To style your curly or wavy hair in a pineapple with a scarf or bandana:
Fold your scarf in a triangle
Bend your head over and place the long part of the scarf at the base of your neck (so that the pointy part is at the top of your head)
Next, criss cross by your forehead
Then, wrap again to the back of your head and secure with a knot or bow
There are many other ways that you can style your curly hair or wavy hair with a scarf or bandana but these 5 are my faves because they’re so easy and very cute.
I hope you try these hairstyles and fall in love with the looks. Let me know in the comments below 🙂
Before You Go, You Will Love These Other Posts For Curly & Wavy Hair:
Try these great winter curly hair products & curly girl routine to keep curly hair moisturized and frizz-free in the winter.
Do you lose your curls or does your curly hair go flat and straight in the winter?
These winter curly hair tips will help you care for your curls and keep your hair hydrated in winter.
Affiliate Disclosure: “This post contains affiliate links, which means I receive a small commission, at no extra cost to you, if you make a purchase using this link.”
In winter, when the temperature and dew points are low, the air is dryer and humidity is lower.
The result is dryer than usual curls or waves. This also causes your hair to be frizzier and possibly even flatter (less volume).
As a curly or wavy girl, your main aim is to keep your hair well moisturized in these colder temps.
Winter Curly Hair Products
Before we take a look at a good winter curly hair routine, let’s check out some awesome winter curly hair products to help with caring for your curls on colder days.
Glycerin is a humectant that you want to avoid in extreme temperatures – either too hot or too cold.
For this reason, when styling your winter curls and waves, it’s best to look for glycerin free or low glycerin products.
Glycerin in your shampoos and conditioners are generally still good, as you’re washing your hair in a moisturizing environment.
When choosing curly girl styling products, remember to assess your hair before you wash and style to prevent moisture overload or protein overload.
Start off your winter curly hair wash day with a pre poo treatment. A hot oil treatment or pre poo treatment, like coconut oil is fantastic for your curly hair in the winter months. It helps with hydrating your curls before clarifying.
Winter Curly Hair Wash Day
Then, wash your hair with a hydrating, sulfate free shampoo.
A good curly girl tip when clarifying hair is to apply the sulfate free shampoo to your scalp, then use a scalp massager or brush to exfoliate.
When rinsing, the shampoo will move down the length of your hair and that’s usually enough to cleanse the length of your curls.
If you’re experiencing a flaky, dry scalp, try an exfoliating cleanser to help with clarifying your scalp.
If your scalp and hair are extremely dry and doesn’t need much cleansing then a co wash may be your best option.
Condition, detangle and rinse
Apply your conditioner from bottom to top and detangle with your fingers or a detangling brush like a tangle teezer.
Deep condition to nourish dry and frizzy curls
Deep conditioning is important for every curly girl but more so during winter.
A great way to hydrate your curls more is to add heat with a steam cap. This allows for deeper penetration of the deep condition, enabling your curls to get maximum benefits and moisture.
Remember to only leave in your deep conditioner for the recommended length of time as per the product directions.
Dry your curls with a diffuser on low or no heat after the gel cast forms.
During winter days, air drying and going out with wet hair is a terrible idea for your curls as your hair can freeze! This, of course, if damaging to your hair and will result in dry, frizzy hair.
To prevent that, diffusing is the best way to dry your curls in the winter months.
Some curly girls prefer high heat and high speed – this way they get the job done faster and they don’t experience any heat damage.
Other curly girls recommend going in with low heat and low speed to reduce the amount of heat used while drying their defined curly hair.
This method takes a little longer but the results are similar.
If you’re unsure, try out both ways to see which one works best for you.
Srunch out the crunch (SOTC) with a sealing oil
SOTC and seal your winter curly hair wash day results with an oil will lock in the moisture from all the products you styled with.
Using a sealing oil also reduces damage from the harsh winter temperature and environment (including heating in your home).
Learning how to deep condition curly hair and using a curly girl approved deep conditioner for your curly and wavy hair is a must for healthy hair. Deep conditioning is incredibly effective in restoring and maintaining healthy hair.
Deep conditioning your wavy or curly hair is extremely crucial and beneficial in the constant search for the moisture protein balance that your curls need.
Following a consistent deep treatment routine is one of the most important aspects of curly and wavy hair care, whether you’re following the curly girl method or not.
Ready for your curly or wavy hair to reach it’s full potential? Let’s take a closer look at what deep conditioning is, the many benefits your curly hair will derive from it and how to deep condition your hair.
If you’d like to get a list of recommended curly girl approved deep conditioners, read this post.
Affiliate Disclosure: “This post contains affiliate links, which means I receive a small commission, at no extra cost to you, if you make a purchase using this link.”
What Is Deep Conditioning
Deep conditioning treatments or hair masks provide your curly or wavy hair with what the hair needs – most times, moisture or protein.
A deep conditioner works well because its formula gives your hair the nutrients it needs by penetrating deeply into your hair cuticles.
Read these posts to figure out if your hair needs moisture or protein.
Benefits of Deep Conditioning Curly Or Wavy Hair
As mentioned above, let’s take a look again at the many benefits we see from using a curly girl approved deep conditioner for curly or wavy hair:
easy detangling
more manageable curls
healthier curls and waves
hydrated wavy and curly hair
defined curls
tames frizz
repairs damaged, dry hair
restores hair elasticity
How Often Should You Deep Condition Curly Hair
Most curly girls get the best results when they use a deep conditioner for curly hair once a week. Deep conditioning once a week, ensures that your curls are getting the nutrients, restoration, and hydration it needs every week.
Lots of wavy girls prefer to deep condition less often. Some wavy girls wait until their hair looks and feel like it needs a deep conditioning treatement.
However, this doesn’t mean that your hair needs a deep conditioner treatment every week.
The best way to determine how often you should apply a deep conditioner to your curly hair is by examining and assessing it weekly.
The needs of your hair may change from week to week and this means that the frequency of your deep conditioning treatments will vary.
If you’re satisfied with the health of your curls when you test, then you can skip deep conditioning.
If not, then assessing the look, feel and elasticity of your curls will help you determine what nutrients (protein or moisturizing ingredients) your hair needs so you can choose the best deep conditioner for your hair at the point in time.
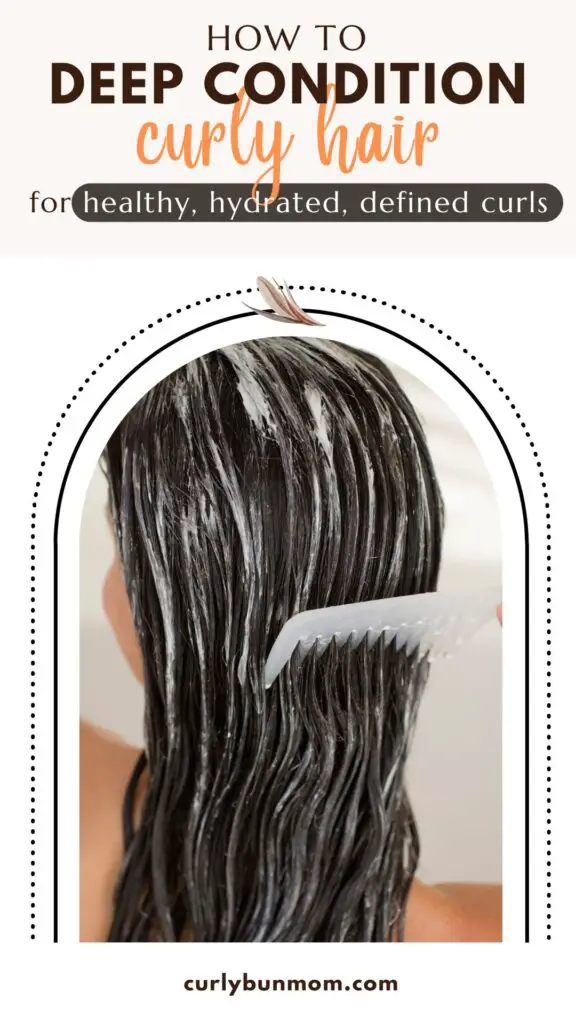
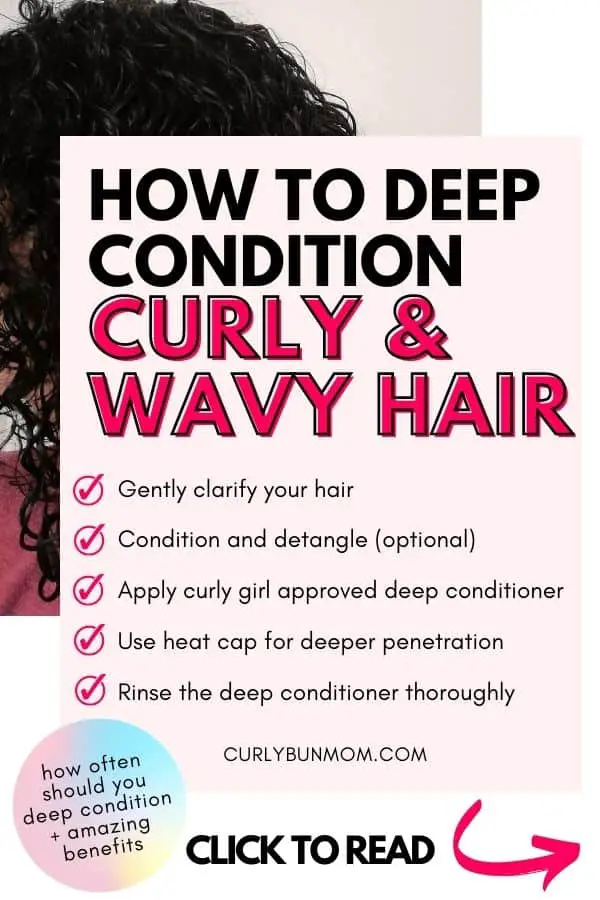
How To Deep Condition Curly Hair
Try this routine every time you deep condition your curly hair.
Once you saturate your hair with the deep conditioner you can put on a plastic shower cap or squish to condish (read more in the next section) before putting your hair in a shower cap.
The shower cap helps your body heat from your scalp open your hair cuticles for the deep conditioner’s nutrients to enter more easily.
Use A Heat Cap To Allow Deeper Penetration
Secure your curls in a plastic cap. The heat from your scalp is usually enough for the deep conditioner to work. But, for additional heat, you can use a microwavable steam cap. The heat helps with opening the hair cuticles to allow for more product penetration.
Deep condition for the recommended time on the product label and not longer.
Leaving deep conditioners in your hair longer than recommended may lead to protein or moisture overload, depending on the formula you’ve used.
Rinse Deep Conditoner
After the recommended time, rinse out the deep conditioner thoroughly with cool water. Using cool water helps to close the cuticles and keep the nutrients in.
It might be tempting to leave in some deep conditioner for extra moisture but this can cause more harm than damage.
Instead, start off your curly hair styling routine with a curly girl approved leave in conditioner.
The first thing you want to do before you reach for a deep conditioner is assess your hair.
Examine your hair to check the elasticity, feel and look of your hair strands. This will help you determine if you’re experiencing any moisture overload or protein overload.
Once you’ve identified whether your hair needs more hydration or protein, it makes choosing the best deep conditioner for your curly hair easier.
If you’re experiencing moisture overload, you’re going to want to use a deep conditioner with protein to restore the moisture protein balance to your curls or waves.
If you’re experiencing protein overload, try a protein free, moisture rich deep conditioning treatment to hydrate your curly or wavy hair, again to restore the moisture protein balance of your hair.
Another way to decide on which type of deep conditioner to reach for is by looking back on the products you used during the week. If you used a lot of protein free styling products, chances are the moisture rich deep conditioner is necessary.
Conversely, if you styled with lots of moisturizing products with little to no protein, a protein curly girl deep conditioner would be better for you.
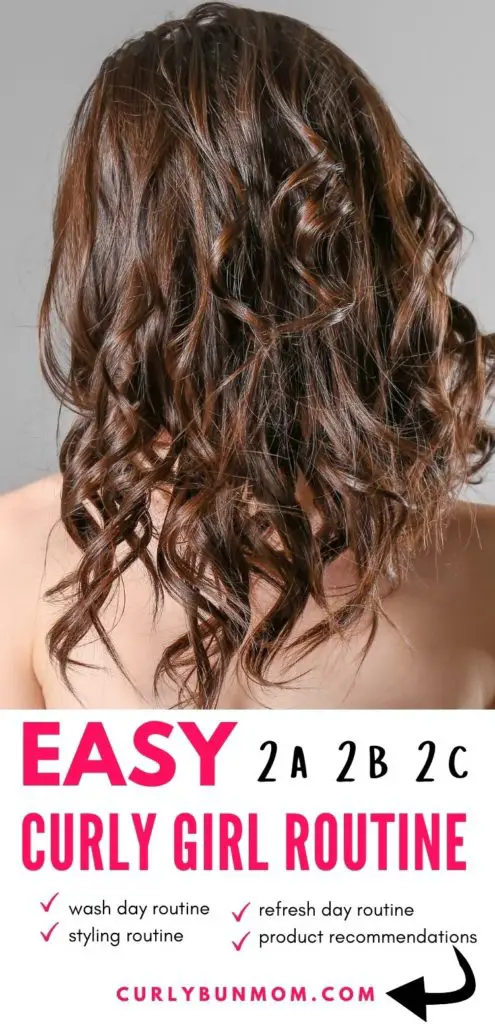
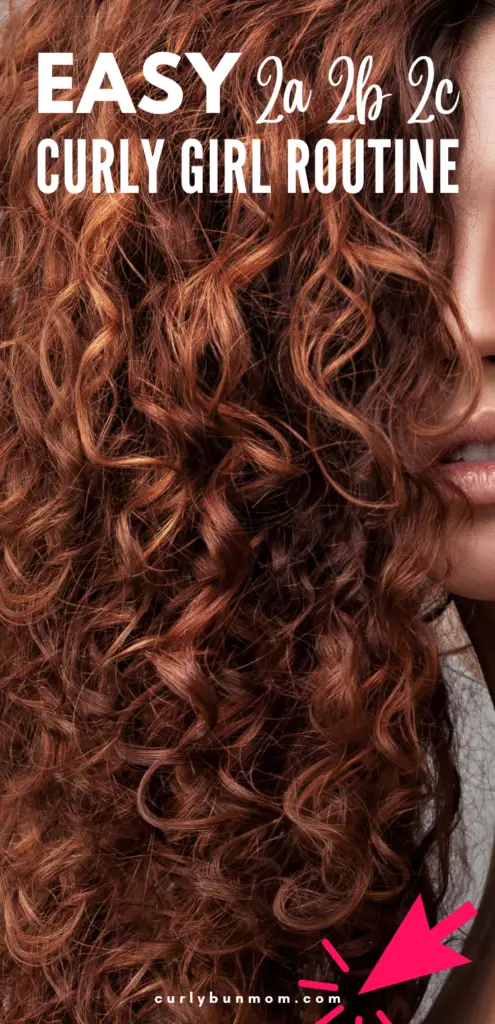
Secrets Of The Best 2a 2b 2c Wavy Hair Routine 2025
Unlocking the perfect routine for your wavy hair—whether it’s 2a, 2b, or 2c—can be a quest.
The search for the ideal wavy hair care routine and products tailored to your unique texture can feel overwhelming amidst the sea of curly girl product options available today.
But, don’t worry! As a mom of a daughter with gorgeous 2b 2c hair, I’ve tried and tested many techniques and curly hair products tailored for her wavy texture. I’m happy to share our favorite routine that works wonders for her.
This comprehensive wavy hair routine guide is your compass in navigating the world of textured hair care, specifically designed for curly girls with type 2a, 2b, and 2c hair.
From essential wash day tips and tricks to crucial refresh day routines, this post unveils a wavy hair routine that you simply must try!
Following this 2a, 2b, 2c routine would leave you with softer, more manageable waves and curls, ensuring vibrant and healthy hair.
Ready to embark on this transformative journey to embrace your natural waves and curls? Let’s delve into crafting the ultimate 2a, 2b, 2c hair routine together.
Affiliate Disclosure: “This post contains affiliate links, which means I receive a small commission, at no extra cost to you, if you make a purchase using this link.”
Some people with type 2 hair have trouble figuring out whether they have straight, wavy or curly hair types. This can be true, especially for those with 2a hair or 2b hair.
So let’s look at the categories of type 2 hair and their hair pattern.
The natural pattern of 2a, 2b, and 2c are considered wavy hair types. The natural hair texture is between type 1 (straight) and type 3 (curly) which makes it hard sometimes to figure out if you have straight hair or curly hair.
You can use this quiz to find out if you have naturally curly hair.
The good news is that knowing your hair type isn’t the most important thing when it comes to hair care. Your hair’s porosity level will ultimately determine your hair care and the hair products you choose for your hair.
However, knowing your hair type is still a good place to start when determining how to care for your hair, as it gives some general understanding of what you can expect from your hair texture.
2a Hair
2a hair has soft waves and is most often mistaken for straight, frizzy hair. People with 2a waves have fine and don’t have a well-defined wave.
Using lightweight products to enhance natural waves and add moisture like leave-in conditioner, mousse, and light gels is a must.
Heavier products, like thick curl creams, will weigh down type 2a hair, making already fine hair look limp and flat.
2b Hair
2b hair is a bit wavier than 2a and is also prone to some frizz. 2b hair can look curly as there is a definite s pattern but oftentimes, curl activators and curly hair styling techniques are needed to enhance 2b curls.
2b hair is also typically fine and light weight products are also recommended to add hydrations, tame frizz, and enhance natural waves.
2c Hair
2c hair has a more defined ‘s’ pattern and tends to frizz more easily compared with 2a and 2b.
Your best bet for 2c curls is still lightweight hair products for hydration and definition to tame frizz and define waves. A stronger hold gel can be used for 2c curls to ensure your wash day lasts longer.
Nobody has the exact same hair type all over their head. This means that you can have a combination of hair types. To name a few:
2a 2b hair
2b 2c hair
2c 3a hair
Keep in mind that the type of hair you have is less important than the overall health and porosity of your hair. For example, if you have damaged 2a hair, the products you use will be different to someone with healthy 2a hair. So be sure to assess your hair before looking for products to take care of and style it.
Curly Girl Method For 2a 2b 2c Curly Hair
Unraveling the Curly Girl Method: Unlocking the Benefits for 2a, 2b, 2c Wavy Hair Types
The Curly Girl Method (CGM) is an innovative hair care approach specifically designed to enhance the natural beauty of textured hair, including wavy, curly, and coily locks.
If you have type 2a, 2b, or 2c wavy hair, you may be wondering how the CGM can help you unlock the full potential of your waves.
In this section, we’ll explain the Curly Girl Method basics and its benefits for your wavy hair type 2a 2b or 2c.
Understanding the Curly Girl Method
The CGM was created by Lorraine Massey to address the unique needs of textured hair, which often requires specialized care to maintain its health and beauty.
The method focuses on gentle hair care practices and emphasizes the use of natural, nourishing products to enhance the hair’s natural texture.
The Curly Girl Method can be tailored to suit various hair types, including 2a, 2b, and 2c wavy hair, making it a versatile solution for those seeking to embrace their natural waves.
Key Benefits of the Curly Girl Method for Wavy Hair Types 2a, 2b, and 2c
Improved Hair Health: The CGM promotes the use of gentle, sulfate-free cleansers and silicone-free conditioners that prevent damage and buildup. By adopting this approach, you can improve the overall health of your 2a, 2b, or 2c wavy hair.
Enhanced Wave Definition: The Curly Girl Method encourages the use of styling techniques and products that define and enhance your natural waves. By scrunching, plopping, or using a diffuser on a low heat setting, you can unlock the full potential of your type 2 hair.
Reduced Frizz and Breakage: By eliminating heat styling, using a microfiber towel or cotton t-shirt to dry your hair, and deep conditioning regularly, the CGM helps minimize frizz and breakage. This results in smoother, more manageable waves for 2a, 2b, and 2c hair types.
Customizable Routine: The Curly Girl Method can be tailored to suit your specific hair type and needs. Experiment with different CGM-approved products and techniques to find the perfect routine for your 2a, 2b, or 2c wavy hair.
Embrace the Journey to Beautiful Wavy Hair
Incorporating the Curly Girl Method into your hair care routine can work wonders for your 2a, 2b, or 2c wavy hair.
By adopting the right techniques, products, and practices, you can unlock the full potential of your natural waves and enjoy healthier, more stunning hair.
Begin your CGM journey today and discover the benefits that await you and your textured tresses.
the Curly Girl Method for 2a, 2b, 2c Hair : A Step-by-Step Guide
Embarking on the Curly Girl Method for your type 2 hair journey may seem daunting at first, but incorporating a few essential steps into your hair care routine can work wonders for your textured hair.
Protect your type 2 hair from heat damage by avoiding flat irons, curling wands, and hair dryers. Embrace your natural waves and curls by letting your hair air dry or using a diffuser on a low heat setting.
Embrace Deep Conditioning
To repair and nourish your textured hair, incorporate a weekly deep conditioning treatment into your routine. Look for products specifically designed for 2a, 2b, or 2c hair types to provide the targeted care your hair needs.
Choose the Right Products
Opt for hair care products free of parabens, silicones, and sulfates, as these ingredients can weigh down your waves or curls and cause buildup. Seek out CGM-approved products that enhance the health and beauty of your type 2 hair.
Ditch the Traditional Towel
Instead of using a regular towel, which can cause frizz and breakage, use a microfiber towel or a cotton t-shirt to gently remove excess water from your hair after washing.
Apply Styling Products on Damp Hair
To lock in moisture and define your curls or waves, apply your favorite styling products to damp hair. This helps distribute the product evenly and prevents your hair from becoming weighed down or crunchy.
Don’t Give Up on Your Wavy Hair Journey
As you embark on the Curly Girl Method for your 2a, 2b, or 2c hair type, remember that consistency is key.
Be patient with the process and allow your hair the time it needs to transition and embrace its natural texture.
With dedication and the right care, you’ll soon enjoy the stunning, healthy waves or curls you’ve always dreamed of.
The easiest way to naturally make type 2 hair curlier is to follow the best practices for curly hair outlined in this post. Your 2a 2b 2c hair will become healthier and naturally more defined.
This means that your natural curl pattern will be enhanced and therefore, wavier and curlier.
When your waves are damaged from heat straightening or harsh coloring, the result is loose waves or curls.
When you use best practices for your wavy hair texture, your damaged hair will transition and your natural waves will emerge, leaving you with wavier or curlier hair.
Pro Tip: In addition to following best curly girl practices, use techniques such as finger coiling and hair plopping, to train your 2a 2b or 2c hair to be curlier faster.
2a 2b 2c Curly Hair Wash Day Routine
Similar to my 3a 3b routine, your wavy hair wash day routine is important for long lasting waves.
My mom has type 2b 2c hair and this is the routine she follows to get gorgeous, long lasting waves and curls. Follow this routine and get great results:
Wash with a sulfate free shampoo
Condition or deep condition – squish to condish
Rinse out
Cleansing Type 2 Hair
Begin your wavy hair wash day routine with cleansing your scalp and hair.
This is important to remove product build up that can weigh down your hair, making it look lymph and dull.
Natural oils and product build up can also clog hair follicles on your scalp, preventing hair growth.
To cleanse 2a 2b 2c hair:
Apply a sulfate free shampoo to your scalp only
Gently scrub your scalp with your finger tips or a shampoo brush to ensure all build-up is removed.
Move the shampoo down your hair shaft to cleanse the length of your hair.
Rinse hair thoroughly
This is sufficient to cleanse the length of your hair without causing any damage.
If you’re now starting with the curly girl method, you can use a clarifying shampoo to remove buildup from any styling product that contained ingredients like silicone or heavy oils.
How Often Should You Wash 2a 2b 2c Hair?
It’s generally safe to gently cleanse your wavy hair with a sulfate free, gentle shampoo, once or twice a week.
Cleansing too often can dry out your hair and not cleansing enough can leave hair oil and lifeless.
If you’re unsure about when to wash your hair, take cues from how it looks and feels.
Conditioning 2a 2b 2c Hair
Conditioning is important for easy detangling and hydrating your strands. If you’re following the curly girl method, look for a conditioner that is silicone free.
Apply enough conditioner or deep conditioner
distribute it through your hair.
use a detangling brush or your fingers to detangle and help with even distribution.
Most wavy girls get the best results when they “squish to condish” at this point.
Squish To Condish Type 2 Hair
Squish to condish is a technique used to hydrate and encourage definition.
To squish to condish, simply scrunch your hair after even distribution of conditioner. This technique allows moisture to get into your hair shaft and hydrate your strands.
Once the recommended time has passed, rinse the conditioner out of your hair. Gently squeeze excess water with your hands before applying your preferred styling products.
How To Style 2a 2b 2c Hair
The way you style your hair and the styling products you use will ultimately depend on your hair’s porosity level and overall health.
Some wavy girls love to apply styling products to soaking wet hair while others get better results when they apply to damp hair.
Some love to apply their products standing upright, while others like to style with their heads upside down.
These styling tips have changed many wavy girls’ lives by transforming their once “straight hair” into gorgeous, waves with a tousled texture.
The amount of a styling product you use will depend on whether you have thin hair or thick hair.
Start off with a pea sized amount and work your way up until you’re satisfied with your results.
Experimenting with different styling techniques and products is the best way to find out what works best for you.
Curly Hair Routine For Type 2 Hair (2a 2b 2c):
Apply a leave in conditioner and brush through to distribute
Apply lightweight styling cream (optional)
Smooth Gel Over Your hair
Gently Scrunch hair
Air dry or diffuse
Scrunch out the crunch with your preferred oil or serum
No matter which styling techniques work best for you, apply your products in this order to enhance your waves.
This works well for any 2a, 2b, and 2c hair routine.
Leave In Conditioners For Type 2 Hair
Lightweight leave ins are important to add moisture to your wavy hair and won’t weigh down your hair (especially if your have fine hair).
Most wavy girls get the best results by using the praying hands technique to apply leave ins to their hair.
This method distributes the product through your hair without breaking up wavy clumps too much. If you struggled with stringy hair before, this styling technique will be a game changer for you.
Once you’ve applied your leave in, use a denman brush over a wide tooth comb, to ensure even distribution and maximum definition of your natural waves.
Using a lightweight curl cream is optional as the leave in may be sufficient to add moisture to your hair. However, if your waves need additional moisture to fight frizz, apply a small amount of your preferred curl cream. A curl cream will also enhance your natural waves leaving you with undeniably gorgeous, bouncy beach waves.
You can use the praying hands method again to apply the curl cream and then use the denman brush to ensure even distribution.
You can also style your hair using the Denman brush or you can simply scrunch your hair to encourage clumping and definition.
Most wavy girls get great results by scrunching with their hands and no additional products.
However, if you prefer, you can rub a small amount of oil or frizz free serum in the palm of your hands before scrunching out the crunch. This prevents frizz and adds shine to your waves.
Flip your hair over and from side to side as you scrunch to encourage volume.
Once you’ve scrunched out the crunch, the result will be gorgeous, soft beach waves.
If you’ve used strong enough hold products to style your wavy hair, you can expect your wash day results to last a few days with refreshes in between for 2b hair & 2c hair. 2a hair may need to be refreshed daily.
My mom’s wavy wash day hair can last her all week, with very quick daily refreshes.
After styling, you don’t want to get it messed up while you sleep, right? So, learning how to sleep with textured hair is key to preserving your waves for the next day. How you sleep will also protect your waves and minimize hair damage.
This is how you should sleep with short or long 2a 2b or 2c curly hair:
Put hair in a loose pineapple with a satin scrunchie
Wrapping Up This Easy Curly Girl Routine For 2a 2b 2c Hair
I hope this easy curly girl routine will help you with your type 2 hair.
Whether you have 2a 2b or 2c hair, the techniques and curly girl products recommended in this post should help you figure out what works best for your hair type.
Remember, what works best on one person may not work best for you. And, what works for you this month, may not work next month.
Always assess your hair’s health and porosity to determine what products your hair needs (moisture or protein) and the techniques that your hair responds to the best.
Before You Go, You Will Love These Other Posts For Curly Hair:
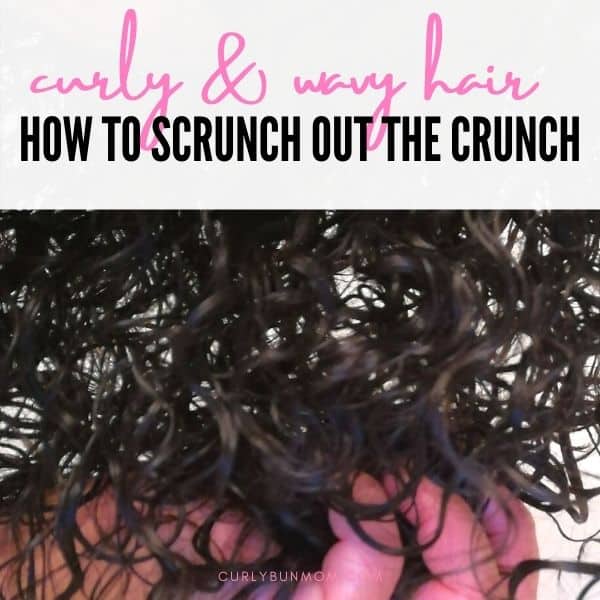
How To Scrunch Out The Crunch (SOTC)& Break The Gel Cast
Learning how to scrunch out the crunch (sotc) from your curly or wavy hair is vital to transform crunchy curls into defined, soft and bouncy curls or waves throughout the week.
No matter your hair length or curl type, we’ve got you covered with expert tips and techniques to reveal your most stunning curls and waves yet.
Say goodbye to the crunch and hello to fabulous, touchable tresses that last all week long. Let’s dive in and transform your curls together!
Affiliate Disclosure: “This post contains affiliate links, which means I receive a small commission, at no extra cost to you, if you make a purchase using this link.”
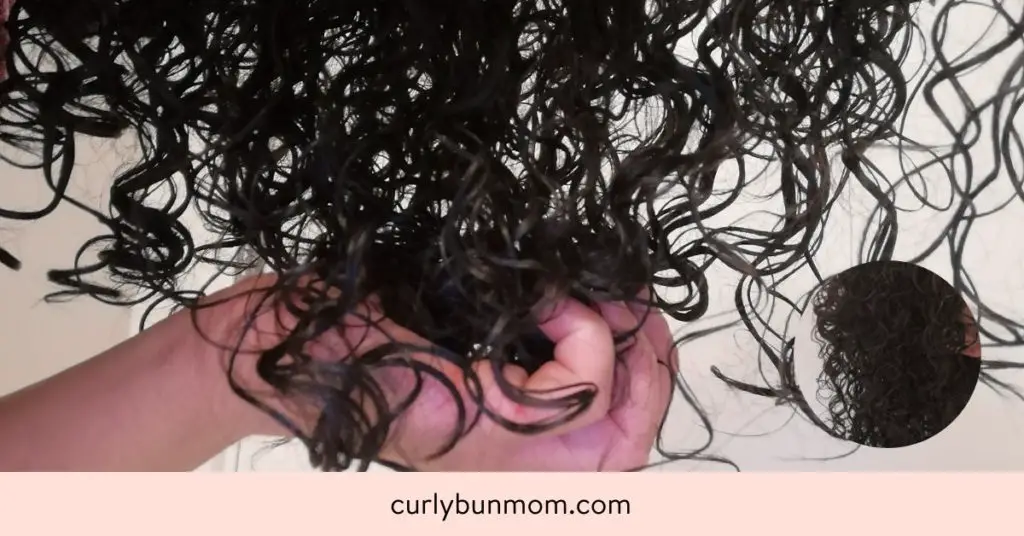
Scrunch out the crunch, also known as SOTC, is a curly girl technique used to soften crunchy, stiff curls that were created by a gel cast.
For best results, curly girls scrunch out the crunch after your hair is fully dried and feels hard and crunchy.
The most common way to scrunch out the crunch is to apply some sealing oil in the palm of your hands and gently scrunch your curls to break the cast.
Gently scrunch until your curls feel as soft as you like.
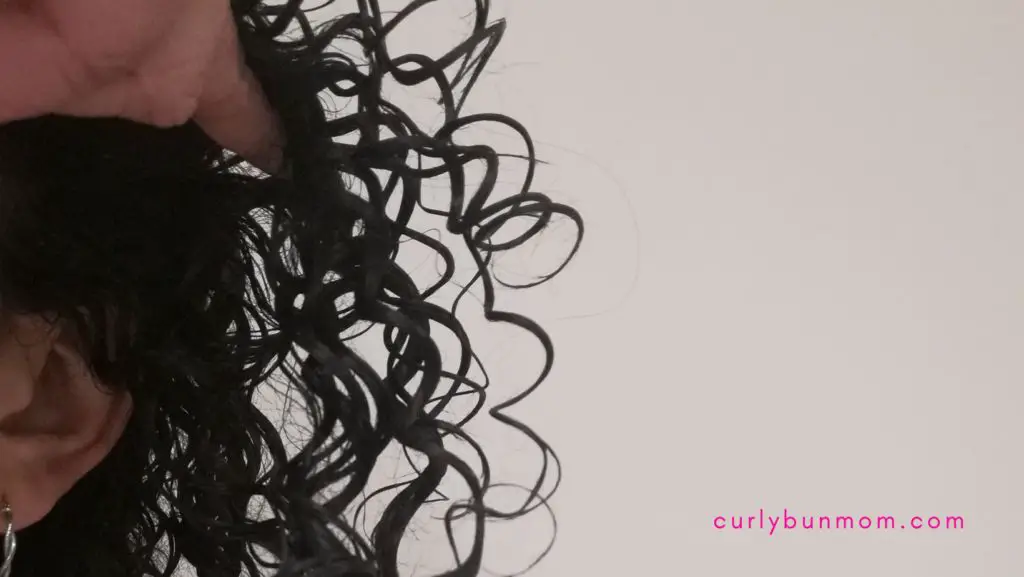
Gel Cast formed – curls are crunchy & stiff
What Is A Gel Cast On Wavy & Curly Hair
A gel cast refers to the thin hard protective barrier that locks in moisture, sets your curl pattern and minimizes frizz.
The gel cast is created by applying a strong hold curly girl product on your wet or damp curls. As your hair dries, the gel forms a cast that holds your defined curls in place.
You’ve achieved a gel cast when your curls look and feel stiff or crunchy.
Doesn’t sound like the ideal outcome for your wash day, right? Who wants crunchy curls?
But those crunchy curls are a great thing because it means that your defined curls are going to last long after wash day, after you scrunch out the crunch (sotc).
The gel cast and scrunching out the crunch is a favorite among curly girls as it offers a reliable way to achieve defined, long lasting curls.
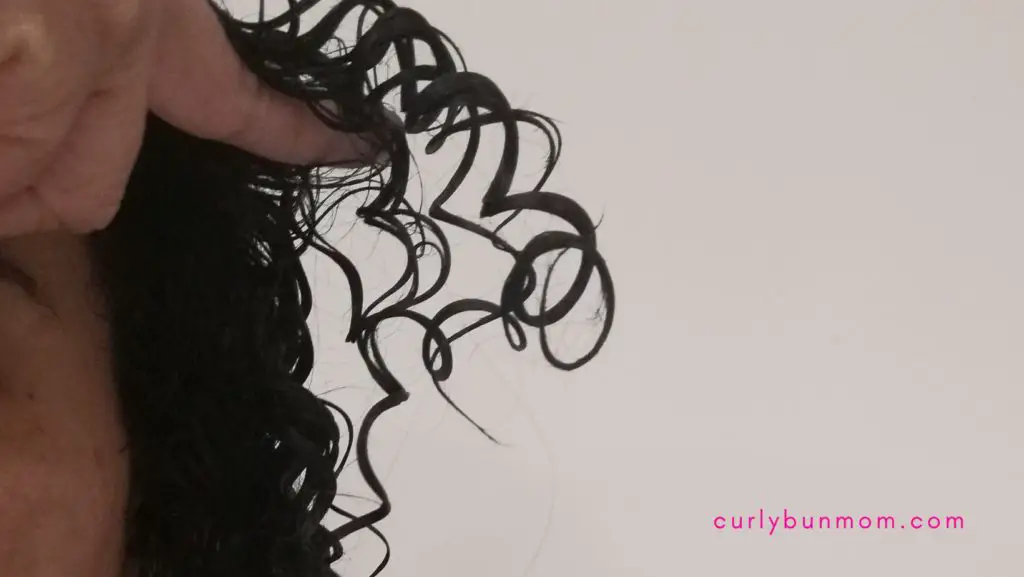
Once your hair is fully dry, the cast can be gently “scrunched out,” resulting in soft, bouncy, and well-defined curls.
Gel Cast formed – curls are crunch & stiff
How To create a gel cast
As you now know, a gel cast can be a game-changer for curly girls, helping to create frizz-free and defined curls.
Using a curly girl gel or mousse, here’s how you can create a good gel cast on your curly or wavy hair:
Begin by choosing a curly girl-approved gel or mousse that suits your hair type, porosity and needs.
Apply the product to wet or damp curls, making sure to distribute it evenly from the roots to the ends.
Applying gel or mousse from the roots can help with root definition.
Create sections and use a curly girl technique to distribute the product and define your curls:
Curly girl brush, like a Denman brush or Detangling brush
Rake and shake method
Scrunching
2. Resist the temptation to touch your curls during the drying process
It’s crucial not to touch or manipulate your curls while your hair is drying and the gel cast is forming.
Touching your curls during this stage can cause frizz and disrupt the formation of the cast.
Instead, let your hair air-dry or plop while the gel cast forms.
How To Know When Gel Cast Is Formed
You’ll know the cast has formed when your curls feel hard and crunchy to the touch.
This firm, protective layer ensures that your curls maintain their shape and remain frizz-free.
A properly formed gel cast will cause your curls to feel slightly hard, crunchy, and stiff to the touch, indicating that the hair gel or styling product has dried and solidified around each curl.
The time it takes for a gel cast to form will vary depending on the product used, your hair type, and the drying method.
It’s essential to be patient and avoid manipulating your curls until the gel cast forms, signaling that your gel cast is ready to be scrunched out for soft, defined curls.
If you plan to use a diffuser, make sure the cast has set before you begin.
This will help maintain the curl’s shape and prevent frizz during the diffusing process.
How To Scrunch Out The crunch On Curly Or Wavy Hair
Even though a gel cast is good, nobody wants crunchy hard hair. Curly and wavy girls want to achieve long-lasting, soft, and bouncy curls.
To achieve this, you want to gently scrunch out the crunch when your curls are fully dried. This will help to reduce the change of frizzing when you sotc.
So let’s look at some ways to Scrunch Out the Crunch
Diffusing To SOTC
Sealing Oil to scrunch out the crunch
Scrunch Out The Crunch Without Oil
Use Leave In Conditioner
Sleep on Your Curls
1. Srunch Out The Crunch – Diffusing Curly Hair
Scrunching out the crunch by diffusing your curly hair requires a gentle approach and quite a bit of patience.
Diffusing is a popular method to dry curly hair that enhances curl definition while minimizing frizz.
The process involves using a hairdryer with a diffuser attachment, which is designed to spread the airflow over a larger surface area, mimicking the air-drying process.
To scrunch out the crunch effectively, follow these steps once your gel cast is fully formed:
Start by setting your hairdryer to a low or medium heat setting and a low speed. This will help prevent overheating and protect your hair from damage.
Flip your head upside down or tilt it to one side, and gently place a section of your curls into the diffuser bowl.
Hold the diffuser close to your scalp and allow the warm air to surround your curls.
Avoid moving the diffuser around excessively or touching your hair, as this can disturb the gel cast and cause frizz.
Continue this process for each section of your hair, working your way around your head until your curls are about 80-90% dry.
Once your curls are almost dry, it’s time to scrunch out the crunch:
Turn off the hairdryer and allow your curls to cool for a few minutes.
Apply a small amount of sealing oil or a lightweight serum to your hands and gently scrunch your hair, focusing on breaking the gel cast and releasing the soft, bouncy curls beneath.
Be mindful not to tug or squeeze your hair too hard, as this can lead to frizz and disrupt your curl pattern.
Continue gently scrunching until your curls feel soft and touchable
By combining diffusing with the scrunch out the crunch technique, you’ll be left with beautifully defined, frizz-free curls that last all day.
2. Scrunch Out The Crunch with Sealing Oil
Sealing oil can be your best friend when it comes to scrunching out the crunch and revealing soft, touchable curls.
This simple technique can make all the difference in your curly hair routine, transforming your gel cast into bouncy, frizz-free curls that last all day.
Follow these steps to scrunch out the crunch using a sealing oil:
Choose the right sealing oil for your hair
Selecting the right sealing oil is essential to maximize its benefits.
Look for lightweight oils like argan, jojoba, or grapeseed oil, which help lock in moisture and provide a smooth, frizz-free finish without weighing your hair down.
These oils will not only help break the gel cast but also add shine and nourishment to your curls.
Try these oils and serums to scrunch out the crunch:
Remember that it’s crucial to ensure your hair is fully dry and the gel cast has formed before scrunching out the crunch.
Touch your hair gently to check if it feels hard and crunchy, indicating that the gel cast has set.
If your hair is still damp or soft, give it more time to air-dry.
Warm the sealing oil in your hands
Dispense a small amount of sealing oil into the palm of your hands.
Rub your hands together to warm the oil and help it spread evenly across your fingers and palms.
This will ensure smooth application and prevent any tugging or breakage when scrunching your hair.
Gently scrunch out the crunch of your curls
Now that your hands are coated with oil, start scrunching your hair gently, working in sections if needed.
Make sure to cup your curls in your palms and squeeze gently to break the gel cast.
Be mindful not to pull or tug at your hair, as this can cause frizz and disrupt your curl pattern.
Continue scrunching until you achieve your desired level of softness and definition.
By incorporating sealing oil into your scrunch out the crunch routine, you’ll unlock soft, defined, and frizz-free curls that feel as good as they look.
3. How To Scrunch Out The Crunch Without Oil
A great way to scrunch out the crunch without oil is to use a cotton tshirt or microfiber towel.
When your curls have completely dried, use a cotton tshirt or microfiber towel instead of using your hands directly on your hair, to scrunch out the crunch.
A cotton tshirt or microfiber towel are fantastic for gently scrunching out the crunch without introducing frizz.
These materials are gentle on hair, absorbing excess moisture and product without causing breakage or damage.
Once your hair is fully dry and the gel cast has formed, grab a clean microfiber towel or cotton tshirt and gently scrunch your curls, focusing on breaking the cast and releasing your soft curls.
4. Scrunch Out The Crunch With Leave In Conditioner
Scrunching out the crunch with a leave-in conditioner can be an excellent alternative for curly girls who want to achieve soft, defined curls without the use of oils.
Leave-in conditioners provide extra hydration, nourishment, and protection, making them an ideal choice for individuals with dry or damaged curls.
To scrunch out the crunch using a leave-in conditioner, follow these simple steps once your gel cast has formed and your hair is completely dry:
Begin by choosing a lightweight, moisturizing leave-in conditioner that works well with your hair type.
Dispense a small amount of the product into your hands and rub them together to ensure even distribution.
Then, gently scrunch your curls, taking care to cup your hands around your hair and squeeze softly to break the gel cast.
Work your way around your head, focusing on each section of hair until you’ve achieved your desired level of softness and definition.
5. Sleep On Your Curls
If you’re not going anywhere, a good way to sotc is by not scrunching it at all.
Sleeping on your curls can be an effortless way to break the gel cast, especially for curly girls who prefer a low-maintenance approach to their curly hair routine.
Sleeping on your curls offers a convenient and low-effort way to break the gel cast, making it an attractive option for those who prefer a minimalist approach to hair care.
This method can be particularly effective when combined with the right sleep accessories, such as a silk or satin pillowcase and bonnet which helps reduce friction and prevent frizz.
To make the most of this overnight technique:
First ensure your gel cast is fully formed before going to bed.
Then, prepare your sleeping environment by using a silk or satin pillowcase, which will minimize frizz and hair breakage.
Additionally, you can protect your curls by gathering them into a loose pineapple or using a silk or satin sleep cap to maintain their shape.
As you sleep, the gentle pressure and movement of your head against the pillowcase will gradually break the gel cast, releasing softer, more natural-looking curls.
In the morning, simply shake out your curls and give them a gentle scrunch if needed, to further soften any remaining cast and enhance your curl definition.
Now you have a few great techniques to turn those crunchy curls that the gel cast creates, into soft, voluminous curls that will last for a few days.
With various methods available, from using a diffuser to sealing oil or simply sleeping on your curls, there’s a way for every curly girl to easily scrunch out the crunch for soft, bouncy curls.
As you experiment with different techniques, remember to always ensure your hair is fully dry and the gel cast has formed before attempting to scrunch out the crunch.
By doing so, you’ll minimize frizz, maintain your curl pattern, and ensure that your defined curls last for days.
No matter which approach you choose, scrunching out the crunch will elevate your curly hair routine and help you embrace your natural texture with confidence.
Say goodbye to crunchy curls and hello to the soft, bouncy, and defined hair that you’ve always dreamed of!
Before You Go, You Will Love These Other Posts For Curly Hair:
Knowing how to refresh curls in the morning after sleeping is a necessity for every curly girl.
You want your defined curls to last all week without much effort but does your curly hair have second day frizz or third or fourth day limp curls?
Try the steps in this post to help you learn how to refresh your curly or wavy hair so that your hair still looks gorgeous long after wash day.
Affiliate Disclosure: “This post contains affiliate links, which means I receive a small commission, at no extra cost to you, if you make a purchase using this link.”
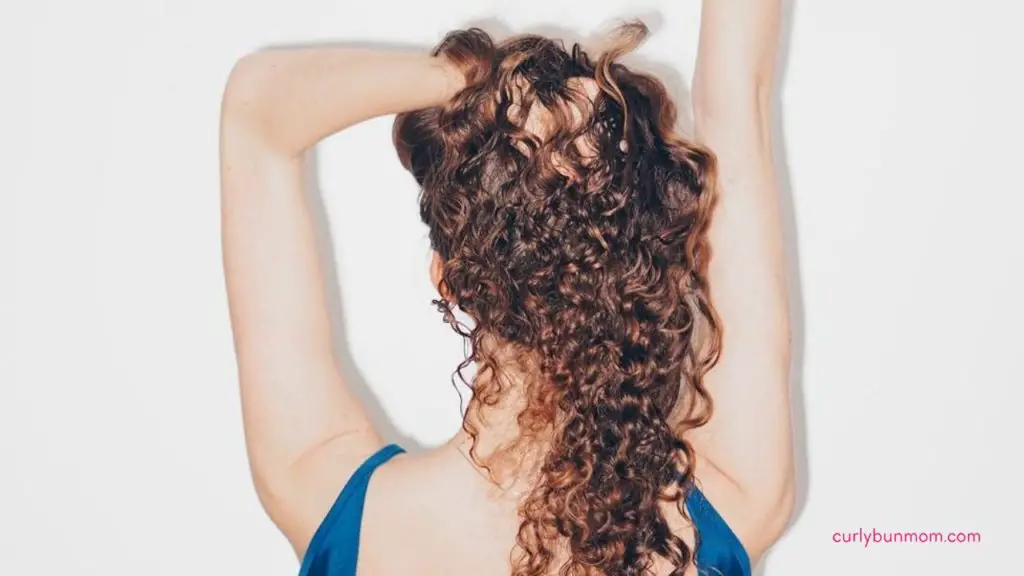
Refreshing second day curly hair and curls throughout the week can take just a few minutes each morning.
As the week progresses, you may find that your curly hair gets more volume and has the potential to look fabulous with little effort from you.
Refreshing your curls throughout the week starts before refreshing steps even starts.
Follow these curly girl tips before you even get to refreshing your hair throughout the week:
1. Have a good wash day
The first thing you need to ensure to make refreshing curly hair a breeze is to have a good curly girl wash day routine that will give you long-lasting results.
2. Use water activated curly girl styling products
Using styling products that have water as the first ingredient means that it’s activated when you apply water. So, to refresh second day curly hair, sometimes all you need to do is use water to reactivate the product, redefine your curls by finger coiling unruly curly strands, or by scrunching and dry.
How you sleep with your curly hair determines how difficult your refresh routine has to be.
The less your curls and waves are disturbed while you sleep, the less frizz you have in the morning, the easier it will be to refresh your curls in the morning.
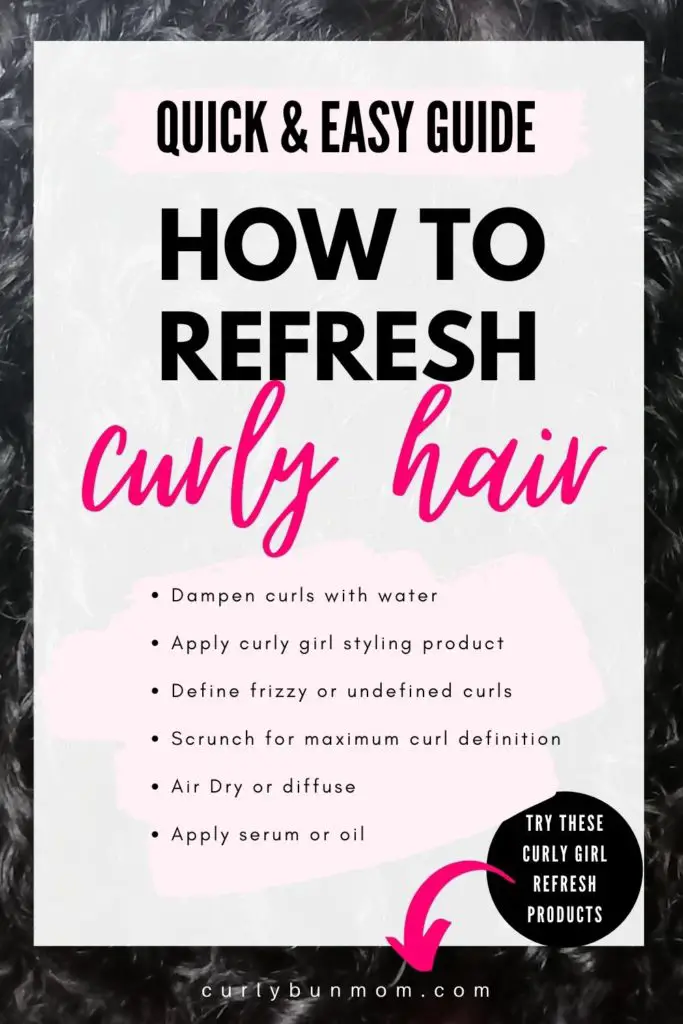
Curly Girl Refresh Routine
Now let’s jump into the actual curly hair refresh steps. Here’s how I refresh 2nd day curly hair and the rest of the week, after sleeping on it to get the best results.
Dampen curls with water
Apply curly girl styling product
Define frizzy or undefined curls
Scrunch for maximum curl definition
Dry
Apply serum
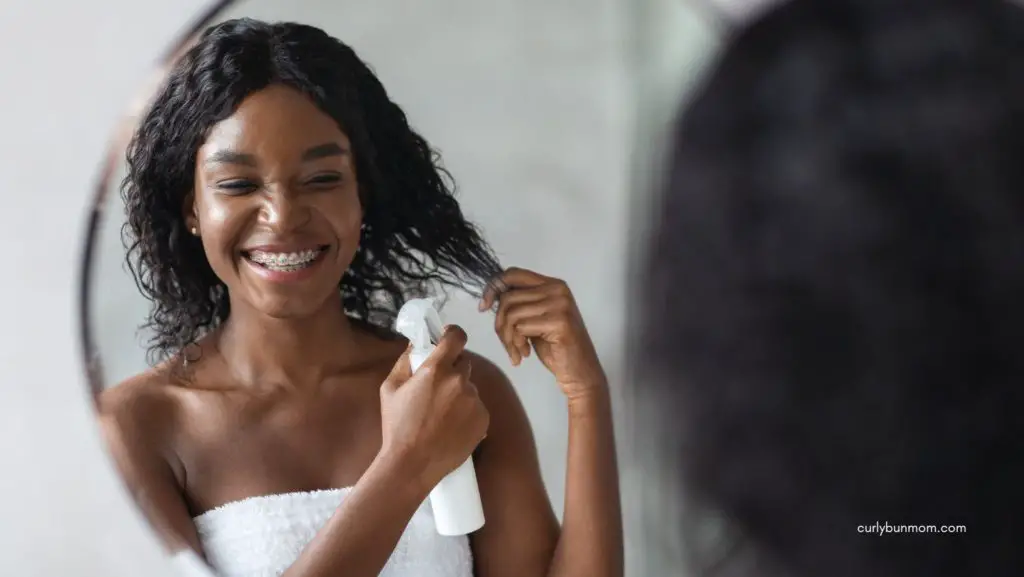
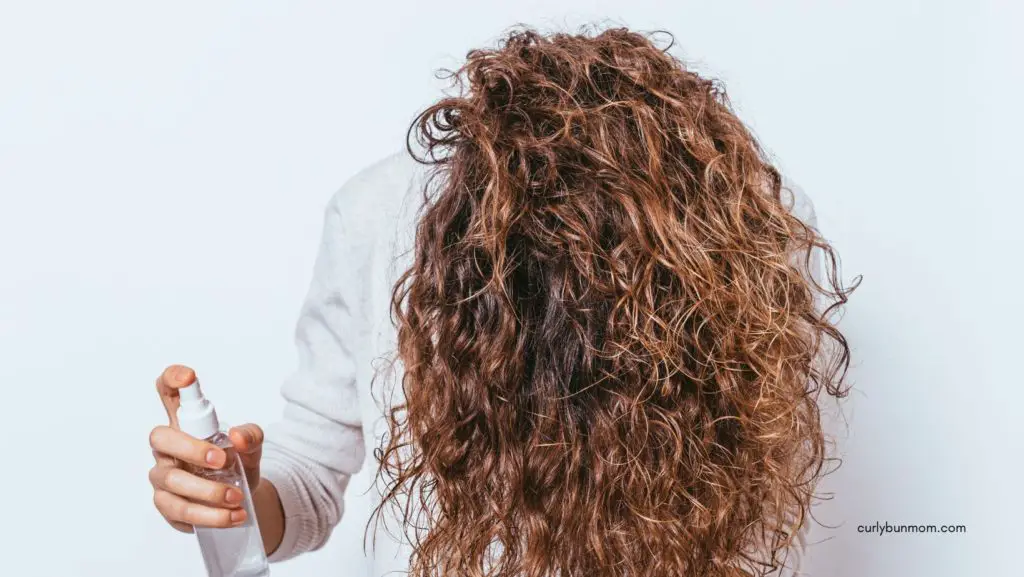
Dampen your curls with water
Start refreshing your curls by dampening with water. You can do this by using a misting spray bottle all over your hair.
At this point, if your curls just needed a little water to reactivate the products you used on wash day, simply skip the next step and jump to step 3.
Apply Curly Girl Products
If your hair needs more hydration and/or hold, then apply a small amount of your product at this point.
Using the praying hands technique, smooth your preferred curly girl hair product over your unruly curls to tame the frizz.
You don’t want to rake your fingers through your curls to mess with the curl pattern you’ve already created.
Define your curls
If you have any loose or undefined curls, you can finger coil those curl clumps to redefine them and remove frizz.
Scrunch
Scrunch your curls to achieve maximum definition and move on to the final step.
Dry your refreshed curls
Dry your hair with your preferred method – diffuse or airdry your refreshed curls.
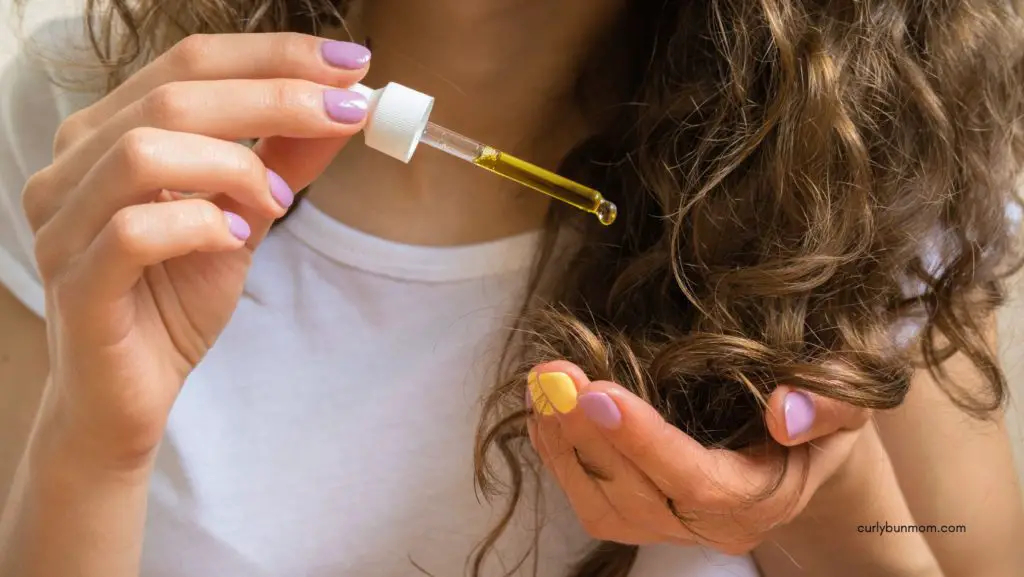
Finish with serum or oil
If your hair needs a little extra shine, to finish your curly hair refresh, you can gently smooth a small amount of your favorite serum or hair oil.
Adding a serum or oil, will also help to soften your curls if you added gel in step 2.
How To Refresh Curls In The Morning Without Water
Using water to refresh your curls is not necessary for all curly and wavy girls. In fact, some curls and waves react badly when water is added on refresh days.
Some curls and waves just need a little oil or serum to refresh second day curls.
If you’re one of those, all you need to do is rub some serum or oil in the palm of your hands and gently smooth it over curls to refresh them. Give your waves or curls a scrunch and that’s it!
This should instantly tame any frizzy curly hair and add shine.
How To Refresh Wavy Hair In The Morning
Refreshing 2a 2b 2c hair is similar to refreshing curlier hair.
The main difference I’ve noticed is that wavy hair doesn’t need to be dampened in the same way as curlier hair.
Most wavy girls get the best refresh results with using little to no water at all.
If needed, apply some dry shampoo to your crown to get more volume
Apply a curl refresher spray like Aussie’s Curl Refresher or a serum oil
Scrunch
Air dry or diffuse if you used water
How To Refresh Curls After A Workout
The great news for curly girls is that you don’t have to wash your hair after each workout.
A good routine to refresh your curly hair after a workout will save you from having to wash your hair too often. Dry shampoo is your best option to cleanse and refresh.
Before we talk about an after workout hair routine, let’s think about your wavy or curly hair before working out. It’s best to secure your curls or waves in a high ponytail or loose curly bun to preserve your curls.
If your hair is too short to go in a pony tail is to just use a hair band to keep your hair out of your face.
Try these tips after your workout to refresh your curls or waves:
Take your hair out of your ponytail or curly bun and gently fluff your roots
Spray some water on your curls
Apply a root refresher or dry shampoo
Next, if your wash day products aren’t activated by water or if you curls need more product, apply your preferred curly girl product, like a leave-in conditioner or curly girl gel.
Finger curl any loose curls that lost definition
Scrunch
Dry as usual – air dry or diffuse
Refresh Day Curly Hair Products
Most curly girls will need different products depending on the refresh day. For instance:
Day 2 Products for second day curls
To refresh your second day curls, you may not need to add any product. Dampening your hair with just a little water to reactivate your curls will do the trick.
However, if you need some extra moisture, you could apply your favorite curly girl leave in conditioner or your diy refresh spray. To make your own refresh spray, simply combine your favorite leave in conditioner with some water in a spray bottle and that’s it! You have your own curly girl spray to refresh your curls throughout the week.
Day 3 refresh products
Your day 3 curls may be getting a bit drier so using a curly girl cream styler may be best. If you also need some extra old, add a small amount of mousse or gel.
Day 4, 5 and 6 curly girl refresh products
From day 4, I typically always need water, leave in conditioner, and a little gel to refresh my curls and tame frizz. I also finger coil any loose, undefined curls.
Try these curly girl products for to refresh your curls. You can easily purchase any of these on Amazon by clicking on the link or you should be able to find them at your local drugstore.
Use products with water as the first ingredient so that on refresh days, adding a little water to your curls will reactivate the curly products you used on day 1 (your wash day).
Experiment with techniques and products until you get the refresh results that make you and your curls happy
I hope these curly and wavy hair refresh tips help you to have easier refresh days with better results.
Have you found a refresh day routine that your love? How do you refresh your curls throughout the week? And, what are your favorite curly or wavy hair refresh products?
Before you go, check out these other curly girl posts: